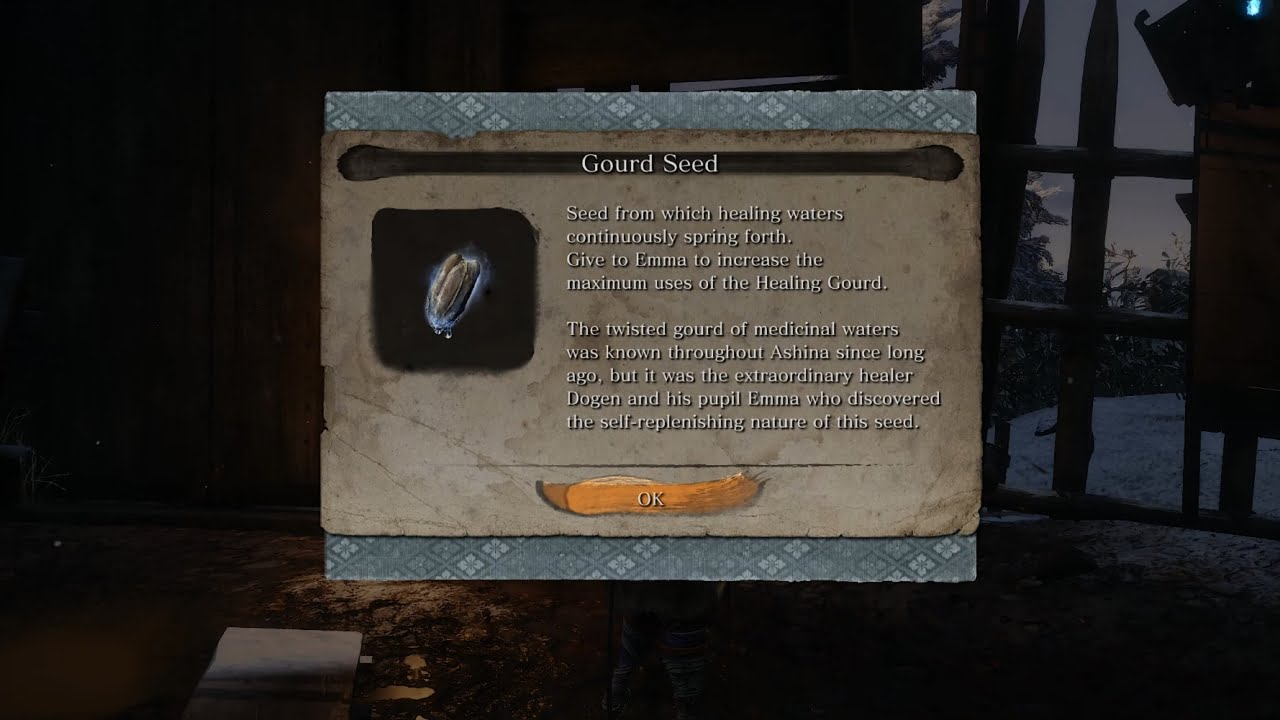
Prayer beads are an upgrade component in Sekiro, used to upgrade the Sekiro’s health and ability to withstand incoming attacks from the enemies before losing its form. Every four prayer beads can increase vitality and posture by 25%, so with 40 prayer beads scattered in Sekiro, you can improve your Sekiro’s health and posture by 250% of what you initially have.
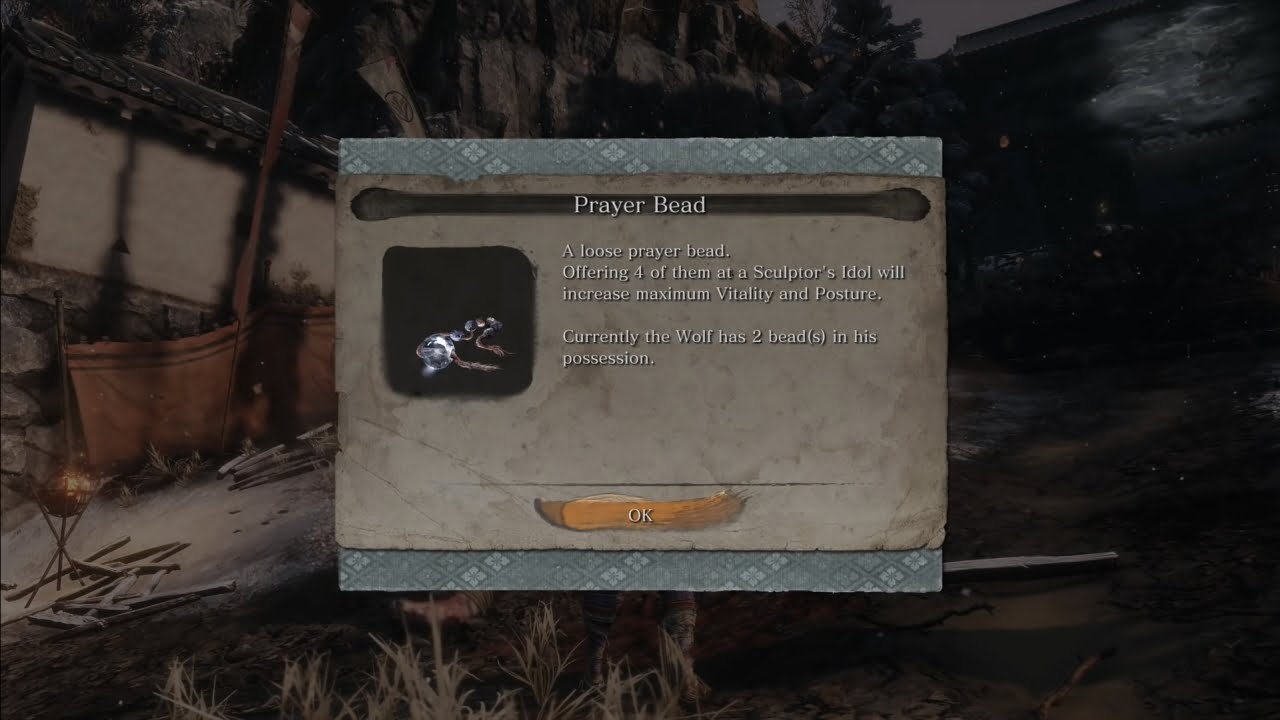
When you collect four prayer beads, take them to the closest sculptor’s idol and find the option to Enhance Physical Attributes. These upgrades will assist you with the increasing difficulty level of the bosses.
Table of Contents
Where Are Prayer Beads Located?
Each prayer bead is hidden on a different site, so it becomes hectic for the player to search for it in the vast lands of Sekiro. For your ease, we have listed all the locations where you can acquire the prayer beads and reward yourself with increased health.
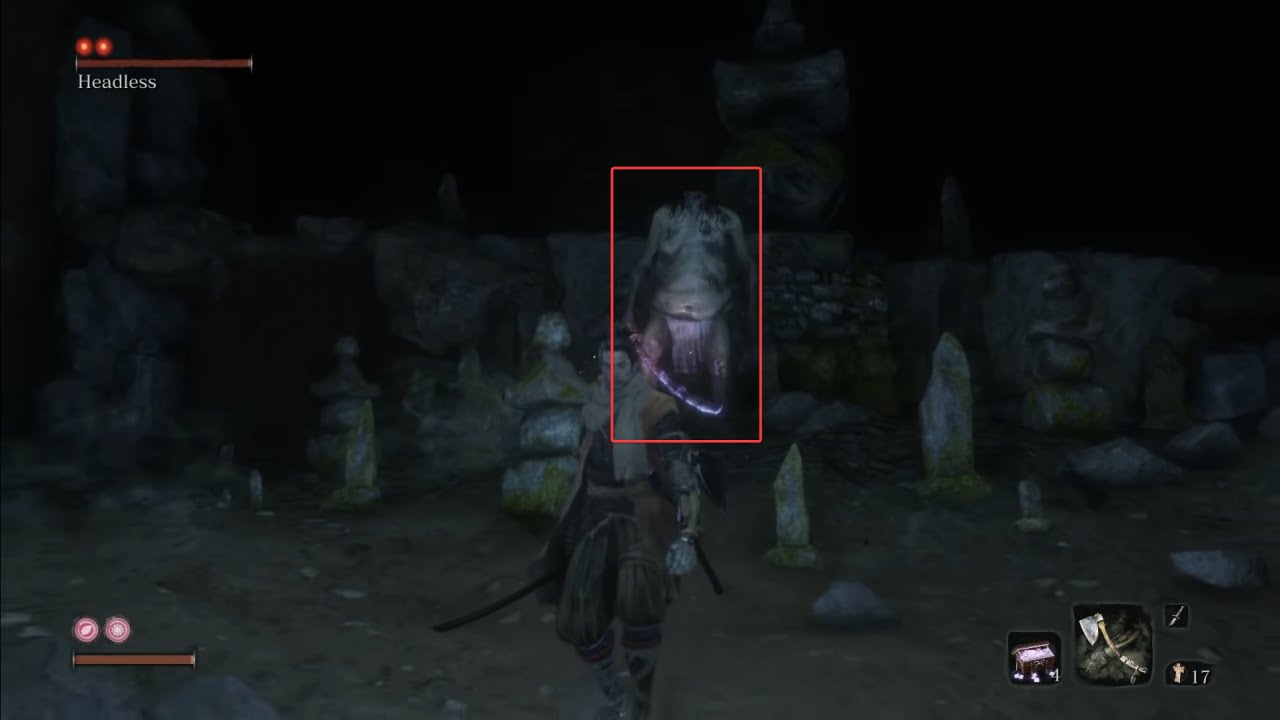
Most prayer beads are rewarded by defeating bosses, some optional, so you might net them along the journey.
Note: All 40 beads can be collected if you follow the purification ending.
Ashina Outskirts
1. The first prayer bead, you will be rewarded with defeating General Naomori Kawarada near the “Outskirts Wall – Gate Path” idol.
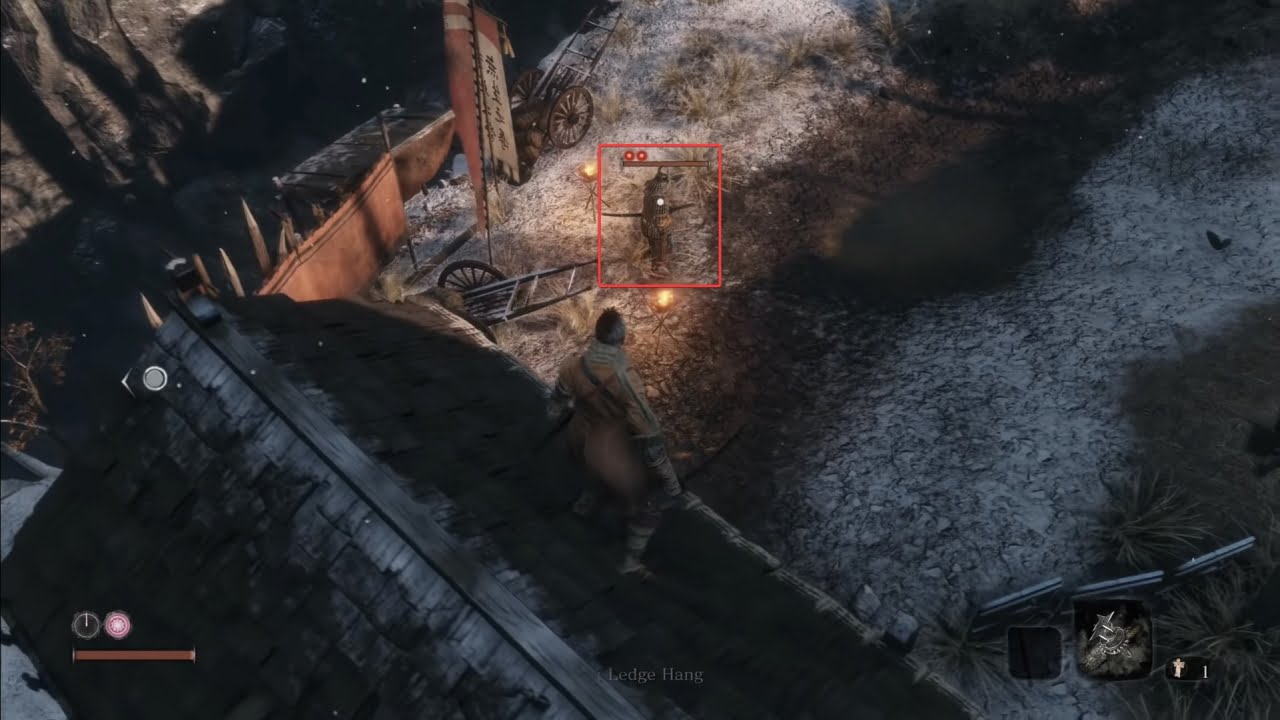
2. Chained Ogre drops the next prayer bead near the “Outskirts Wall – Stairway” idol.
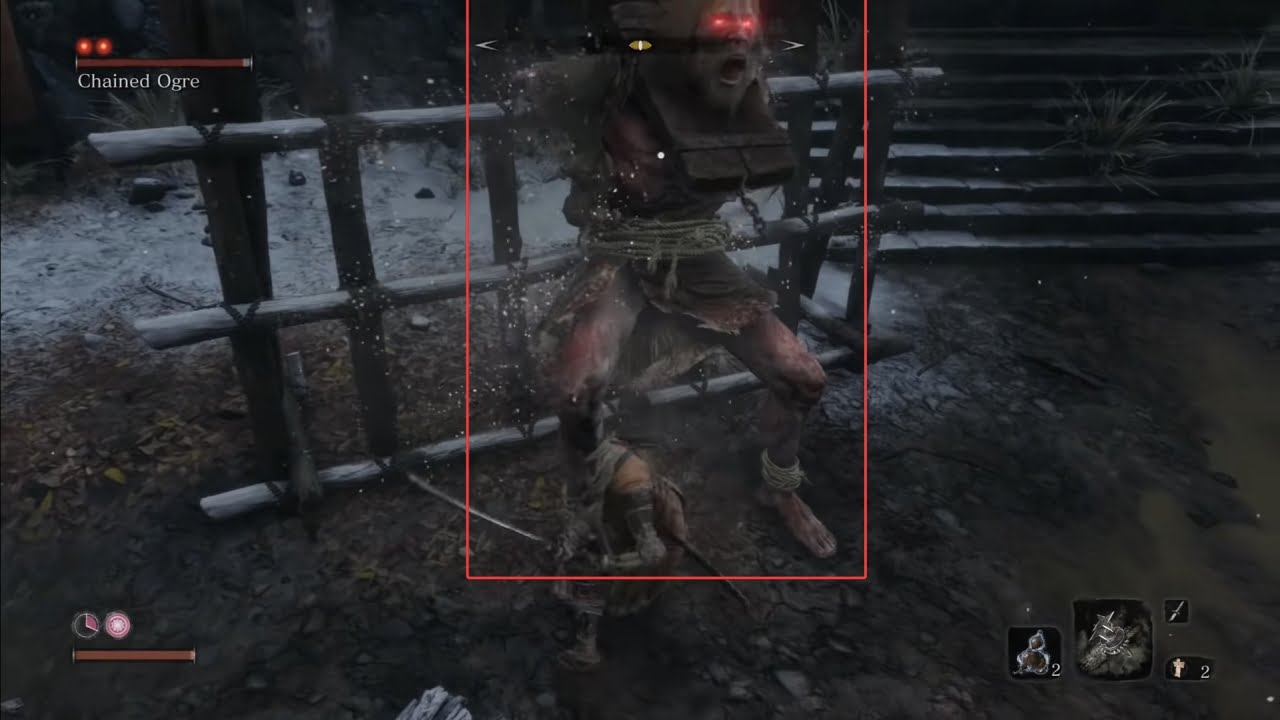
3. Again, a drop for defeating a boss, General Tenzen Yamauchi, is found near the “Outskirts Wall – Stairway” idol.
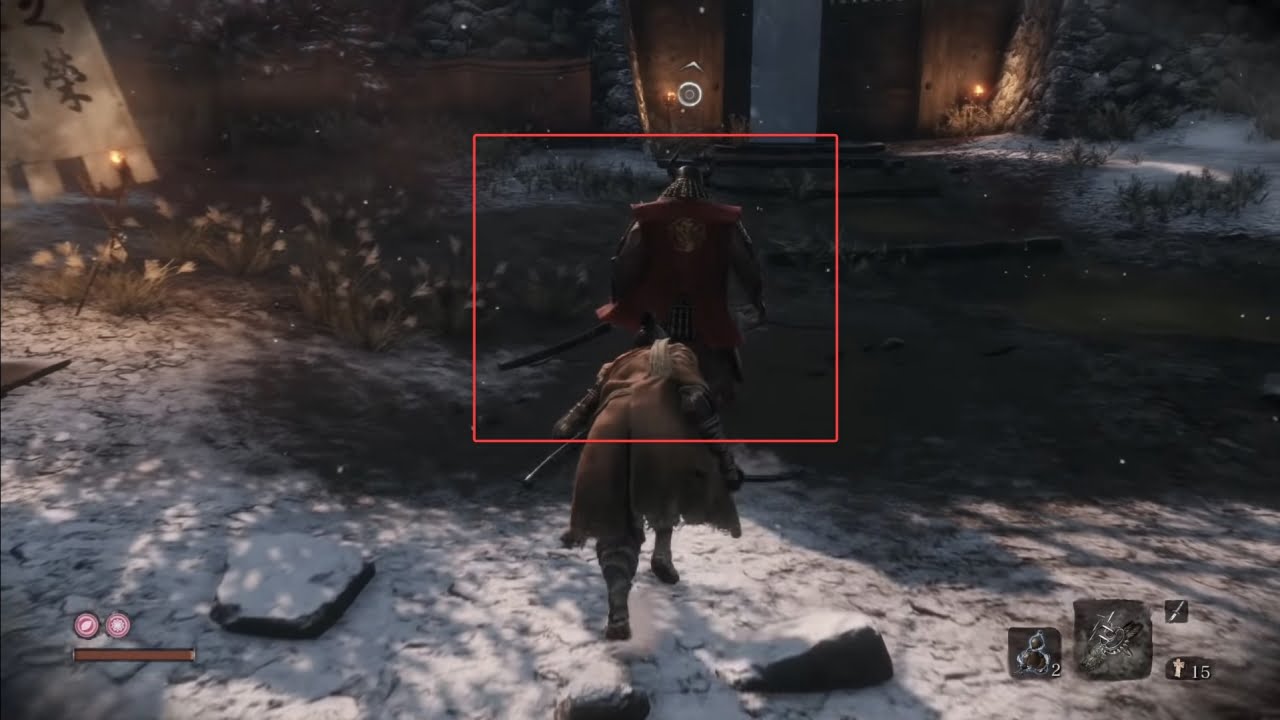
4. For this prayer bead, no boss is required to defeat, but you must beat Gyoubu Oniwa to get access to the area. You will find it in the temple’s attic, where you speak to Tengu of Ashina for the first time.
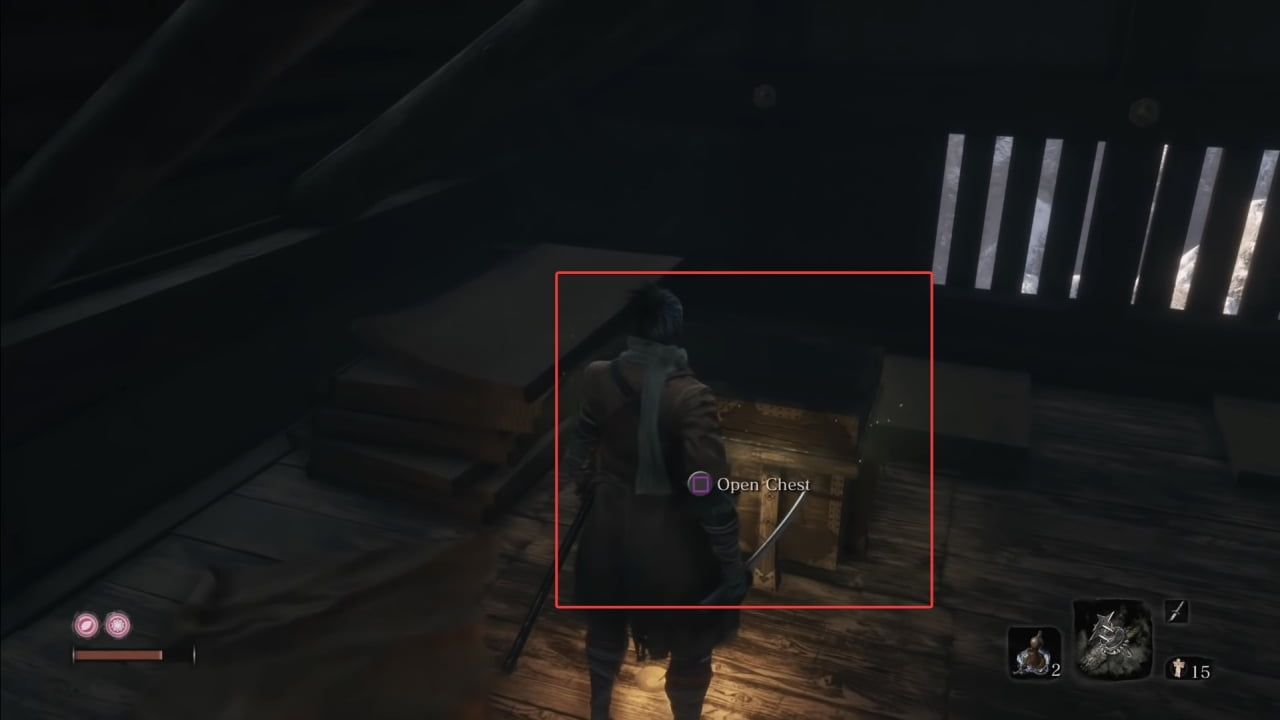
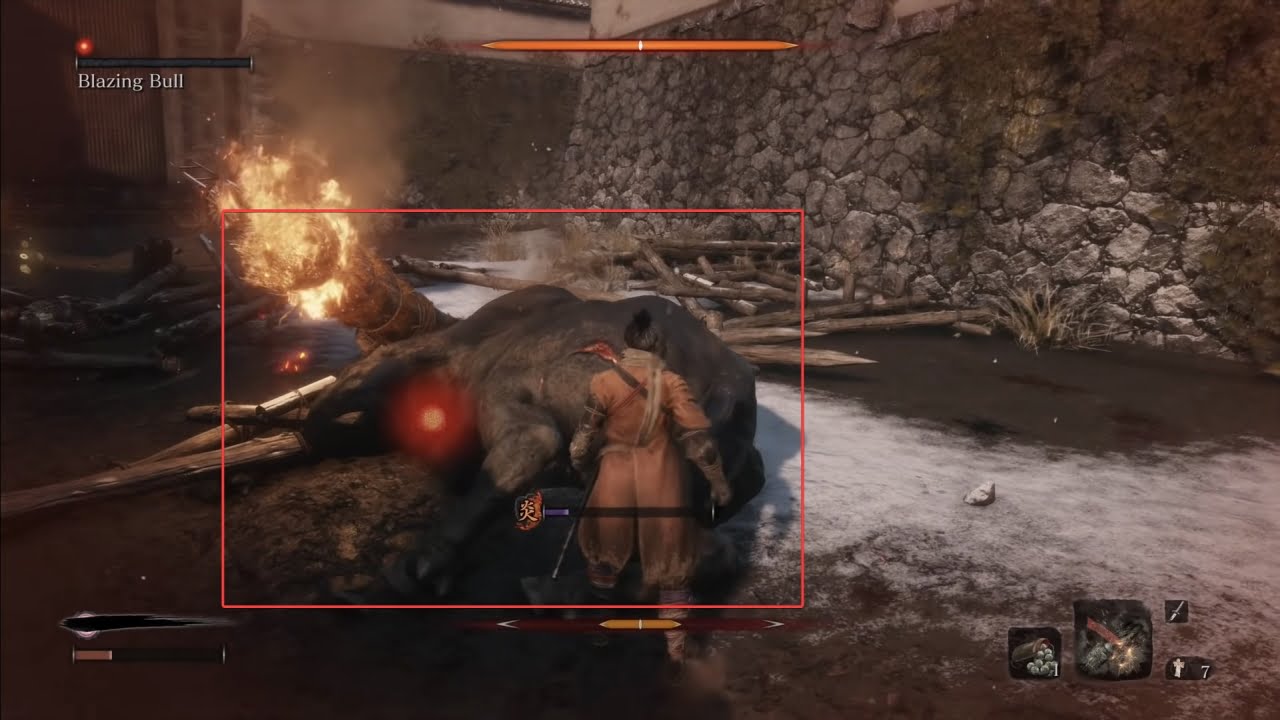
5. Another drop by a boss, Blazing Bull, found near the Ashina Castle Gate.
Hirata Estate
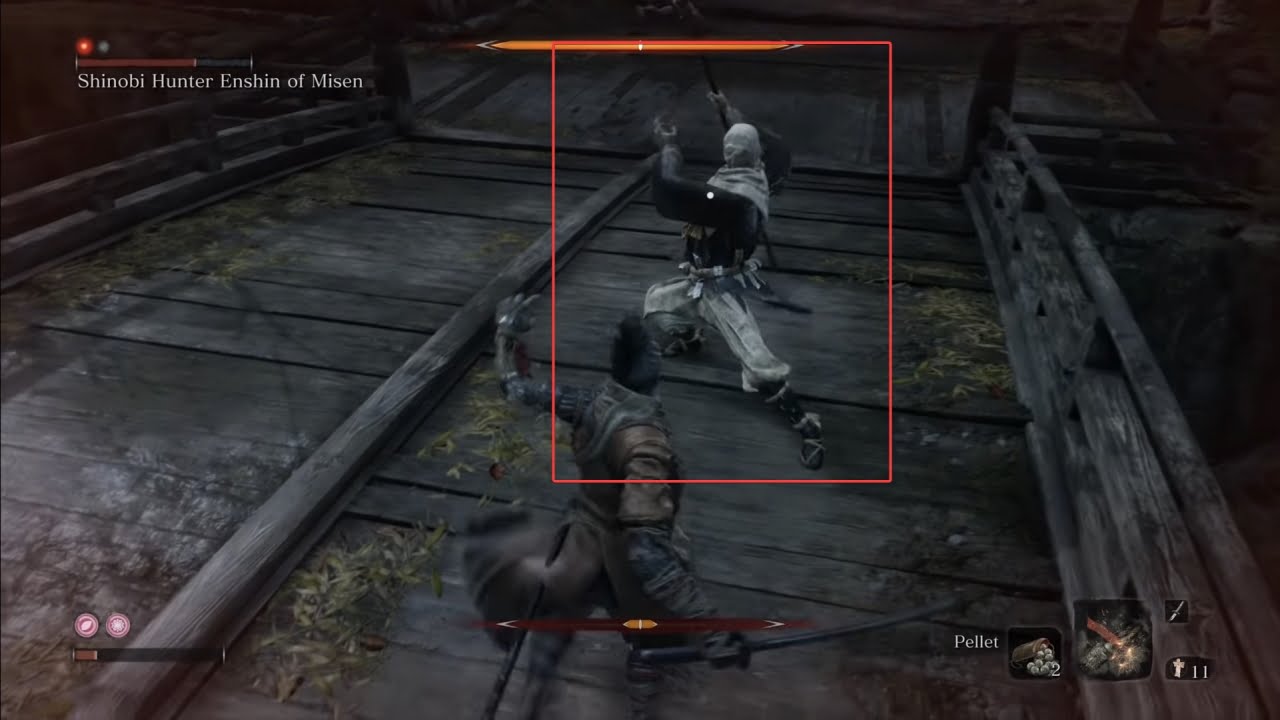
6. For the next prayer bead, you must defeat Shinobi Hunter Enshin of Misen, who waits for you near the “Hirata Estate – Estate Path” idol.
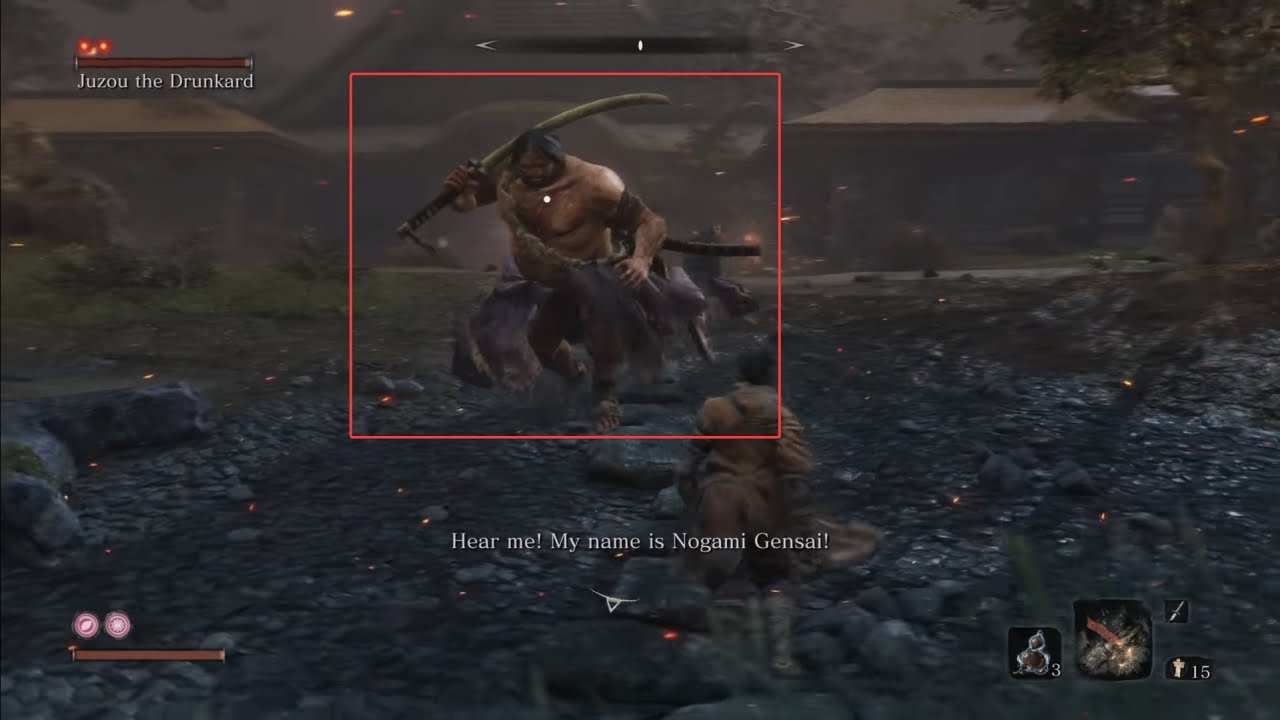
7. Find Juzou the Drunkard and defeat him to obtain the next bead. You can find him in the central hall courtyard from the “Hirata Estate – Main Hall” idol.
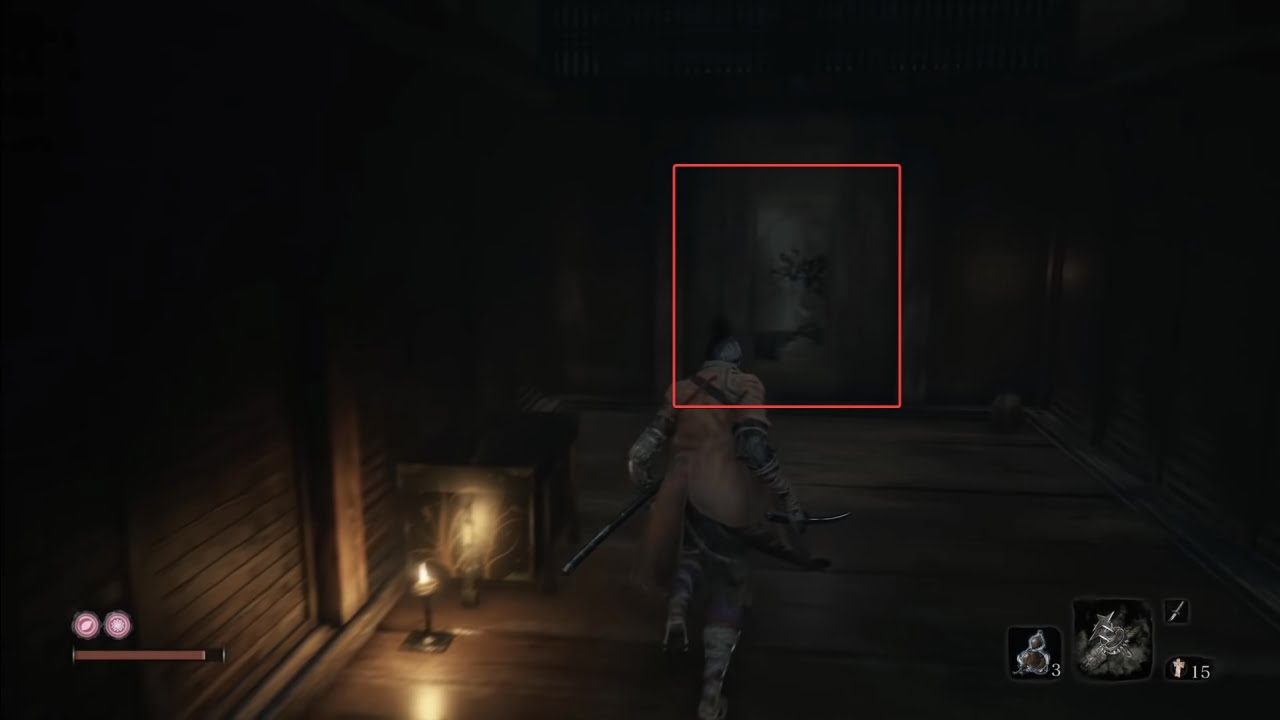
8. From the “Hirata Estate – Hirata Audience Chamber” idol, find a hidden wall denoted by some markings in the pathway guarded by the Bandit Soldier and Bandit Archer.
Ashina Castle
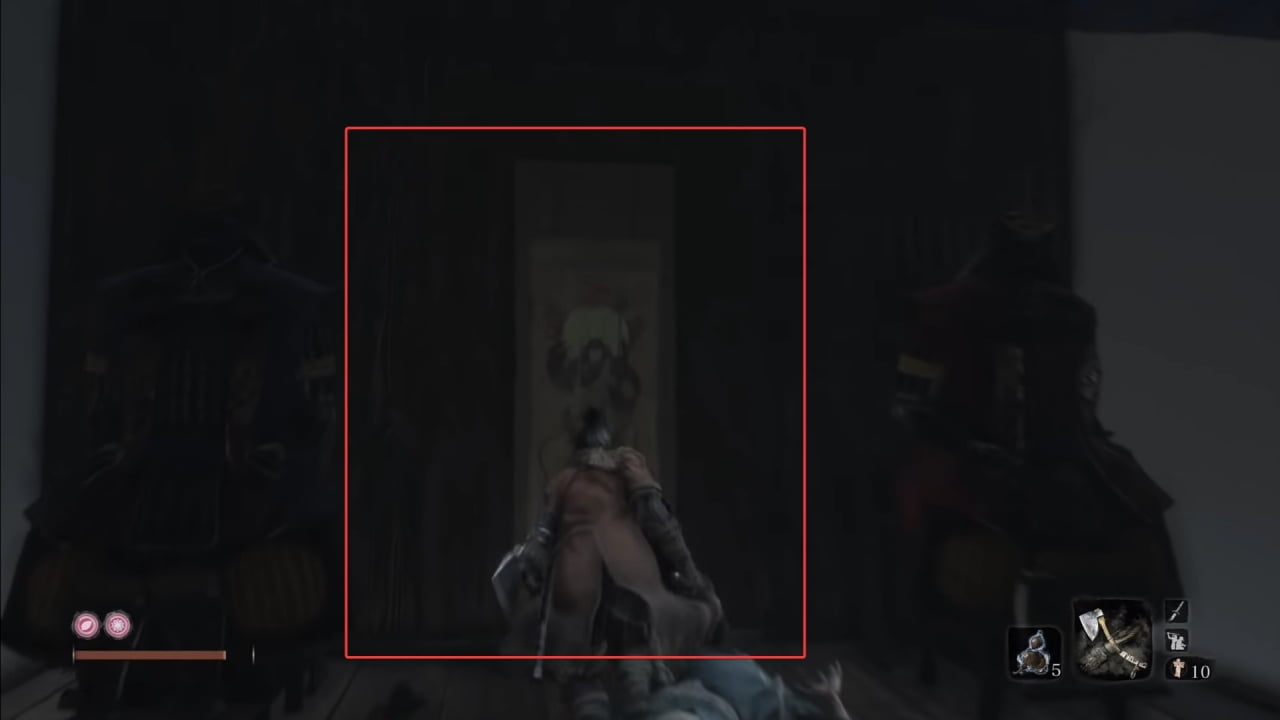
9. Find a hidden wall near the “Upper Tower – Antechamber” idol where you have to clear the area of Blue-Robed Samurais. The wall will have some markings, and two samurai armor are placed on both sides. Once you cross it, find a chest to get the next prayer bead.
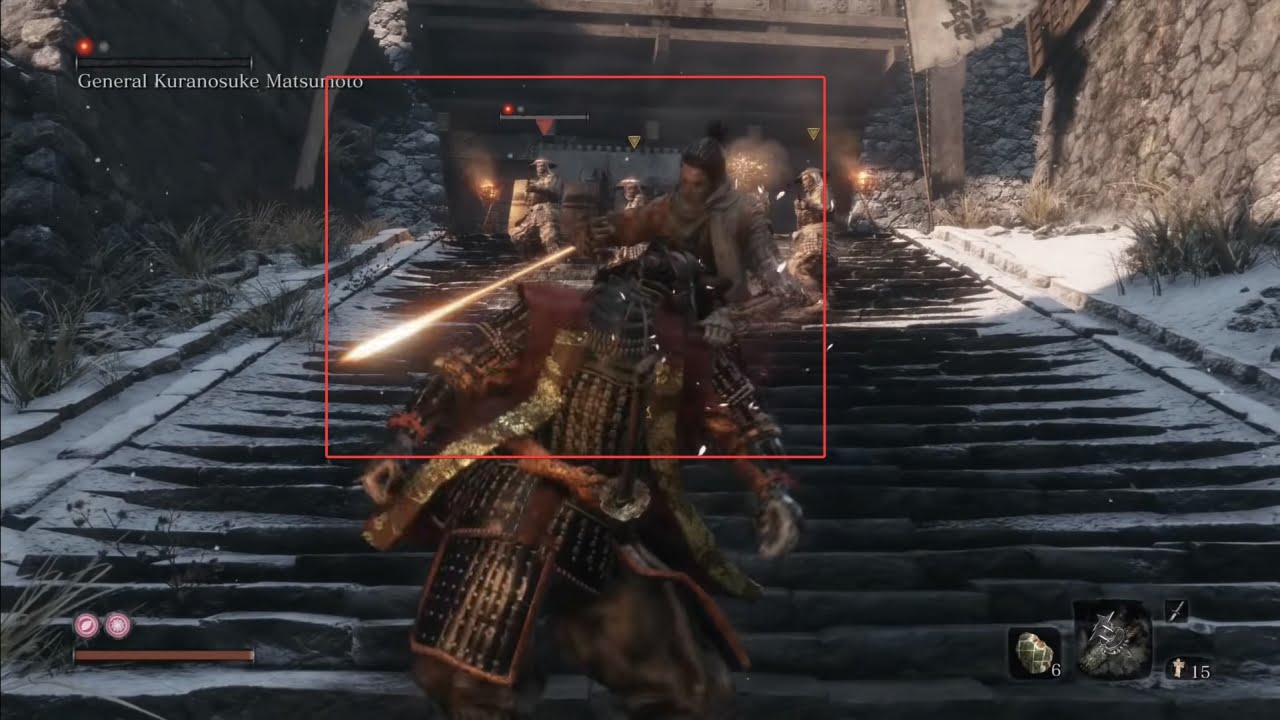
10. For the next prayer bead, fight General Kuranosuke Matsumoto at the top of the stairway leading to Ashina Castle. You can net it only before Shinobi has taken over the Ashina Capital, but if you have missed it, you don’t need to worry as you can buy it from Offering Box close to the Dilapidated Temple for 2200 Sen.
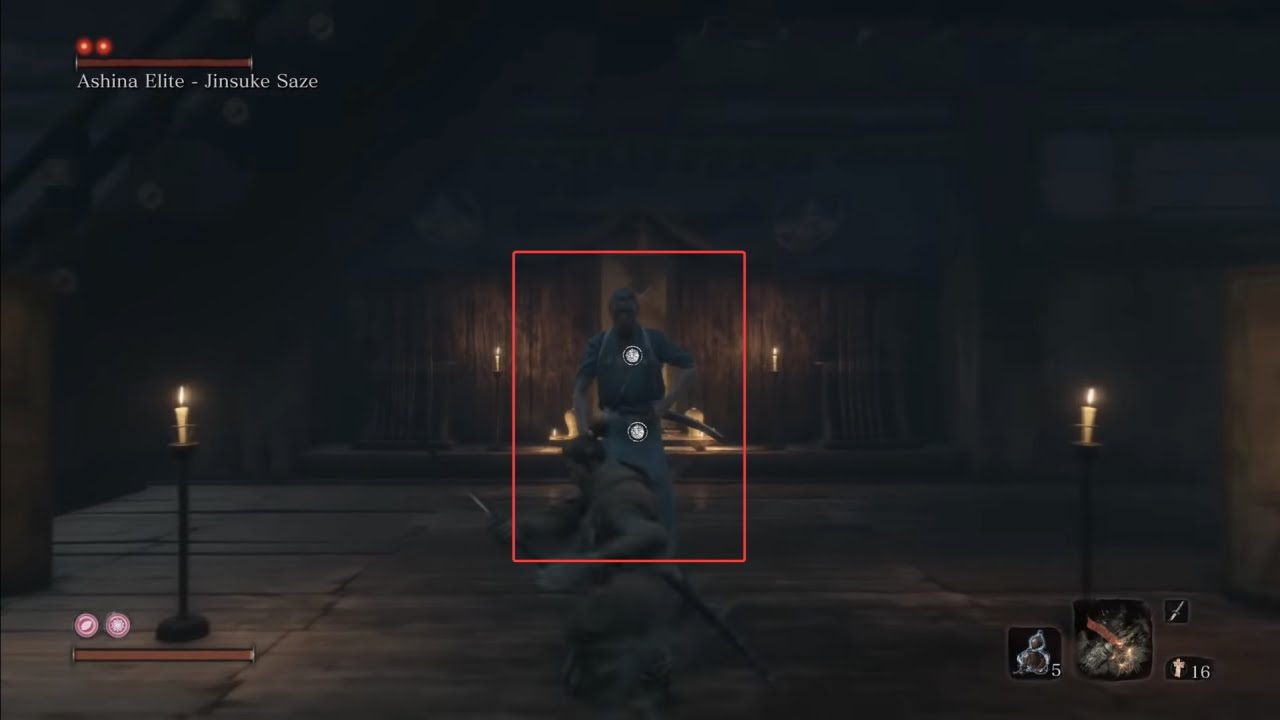
11. Find Ashina Elite – Jinusuke Saze, near the “Upper Tower – Ashina Dojo idol” in Ashina Castle, to get the next prayer bead.
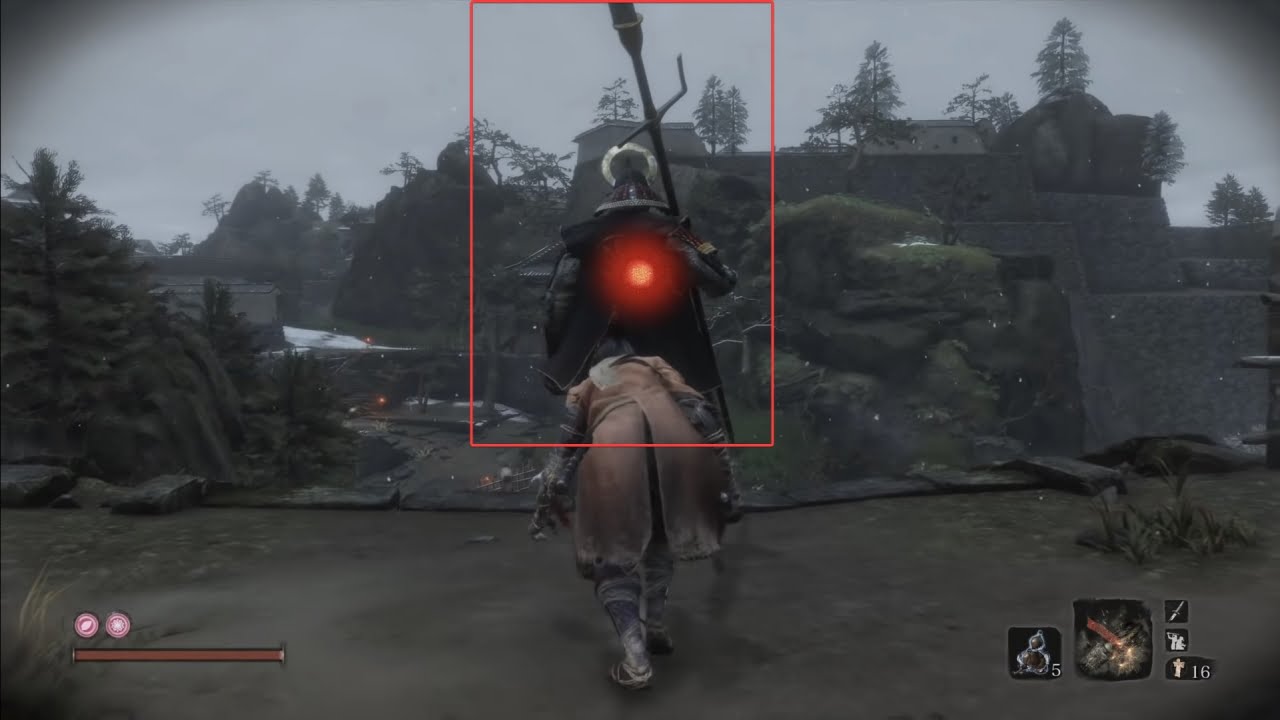
12. You again have to fight for the next bead. You will find Seven Ashina Spears – Shikibu Toshikatsu Yamauchi near the “Ashina Reservoir” idol, who will drop the next prayer bead.
13. Fight Lone Shadow Longswordsman to get the next prayer bead. You will find him through an opening that leads underground in Ashina Reservoir.
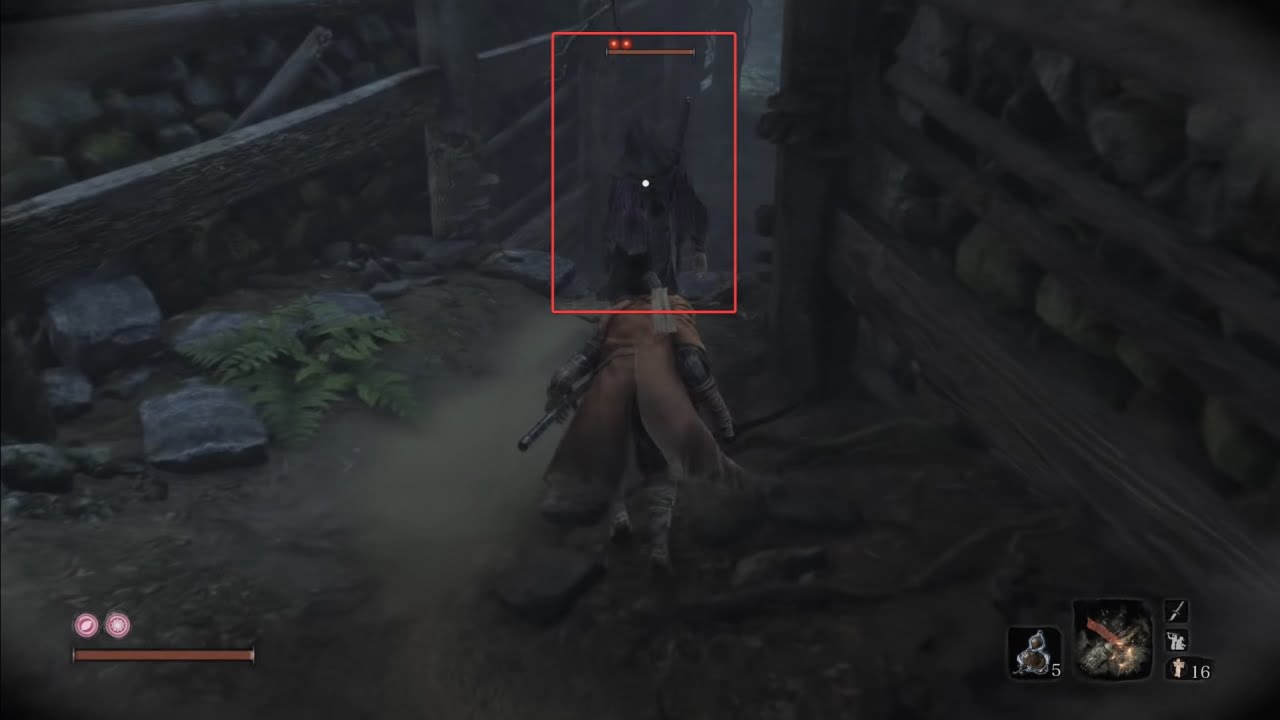
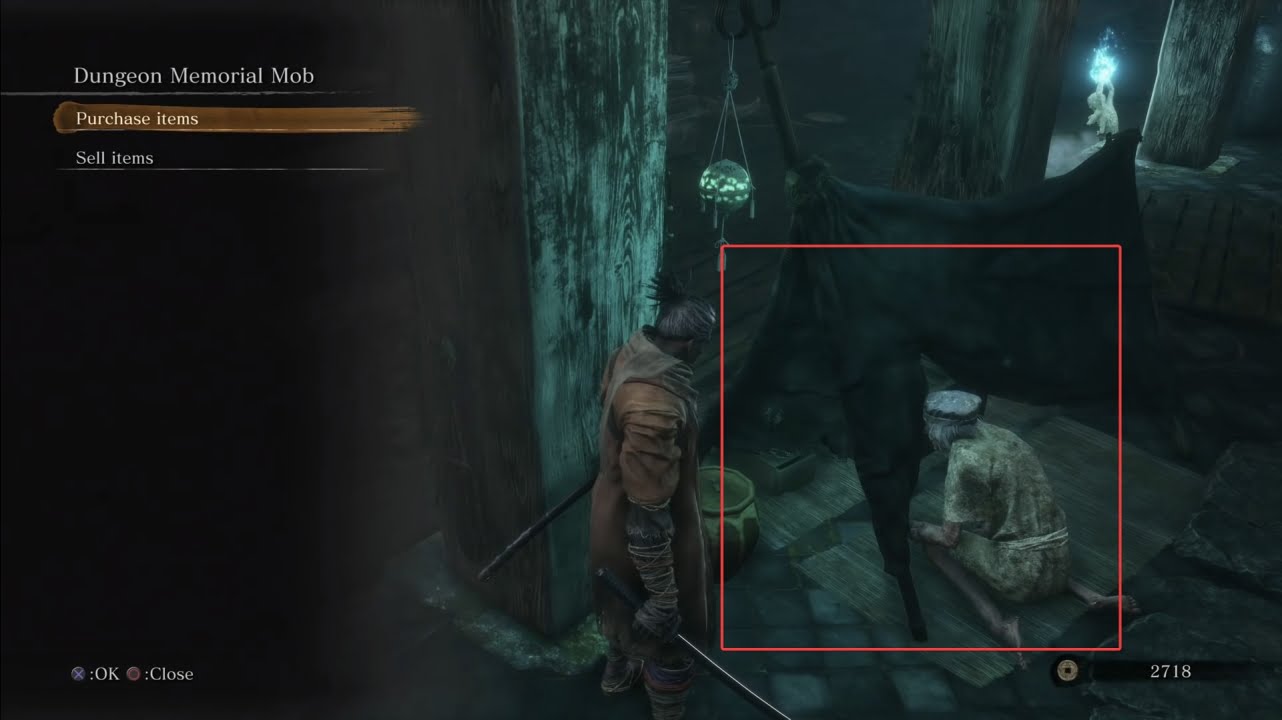
14. This is easy as you have to find the merchant “Dungeon Memorial Mob” in Ashina Capital, who sells a bead for 1400 Sen. He resides near the “Abandoned Dungeon Entrance” idol.
Senpou Temple, Mount Kongo
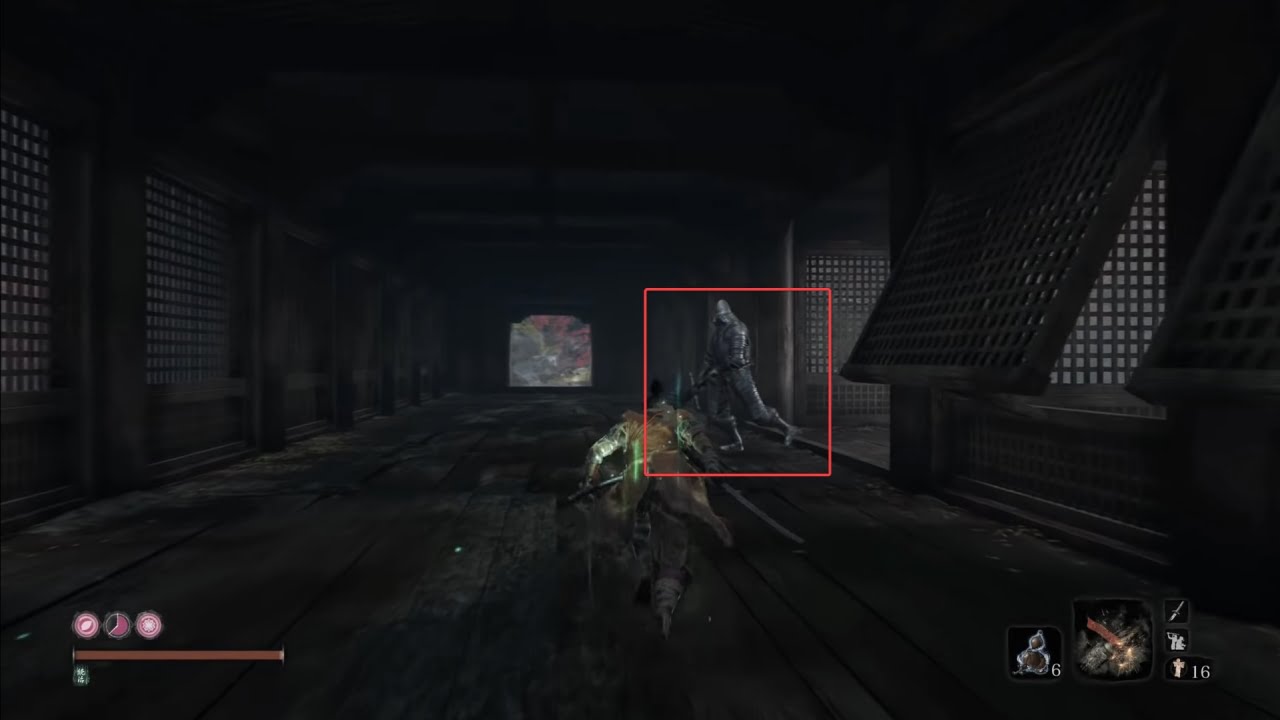
15. Defeat the Armored Warrior to get your hands on the following prayer bead. You will find him atop the mountain past the “Shugendo” idol.
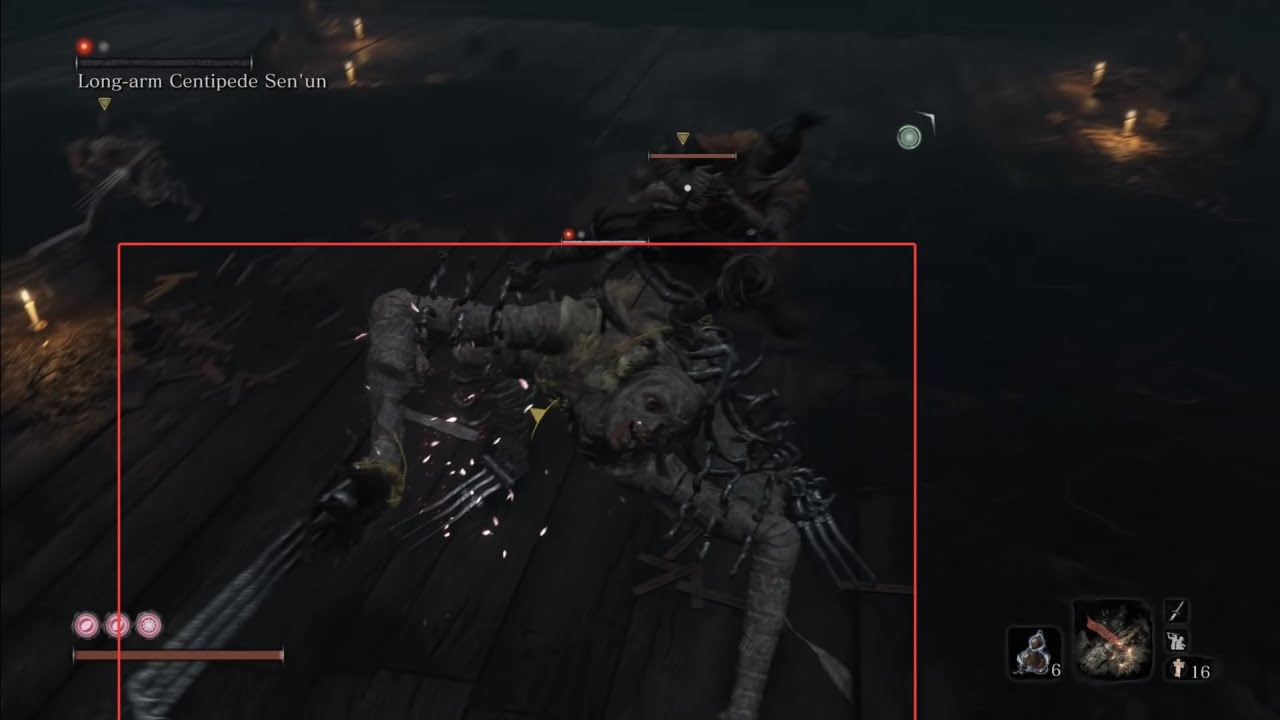
16. Now get to the “Mount Kongo – Temple Grounds” to get to the next mini-boss, Long Arm Centipede Sen-Un, for the next prayer bead.
Sunken Valley
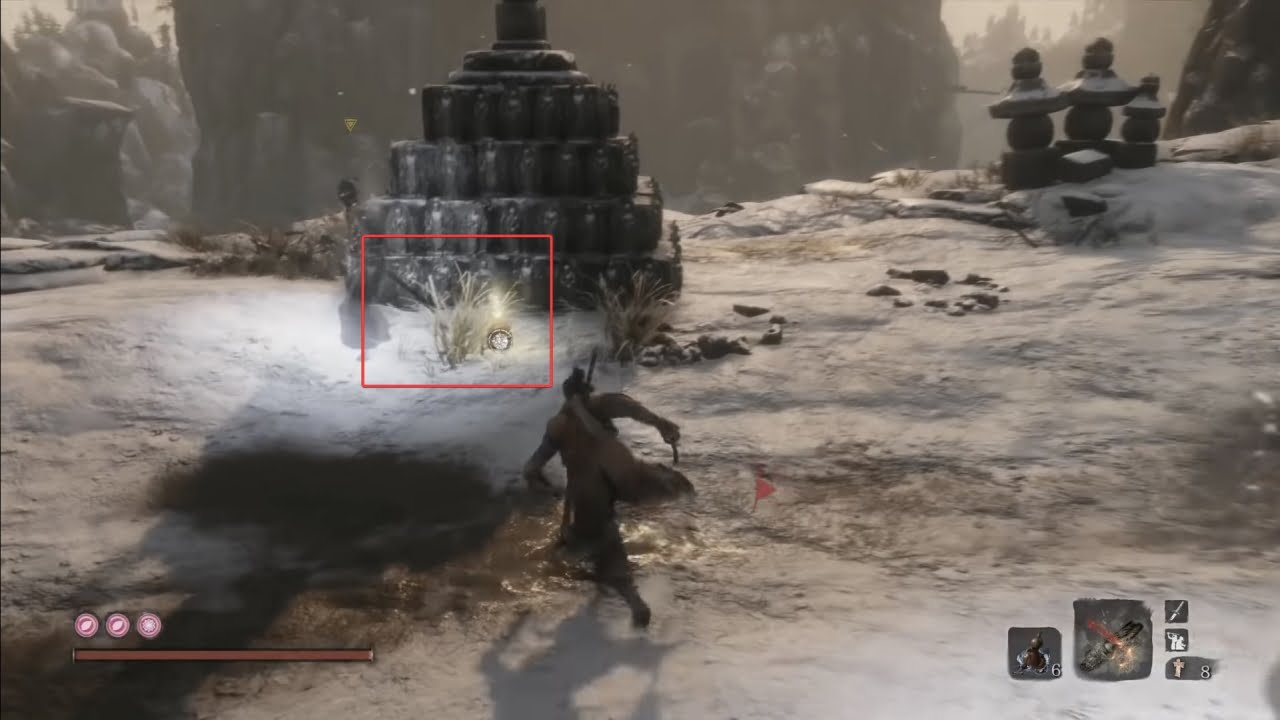
17. For the next bead, start from “Under-Shrine Valley” and walk up to the hill on the left. From there, grapple across to the ledge and hunt down the riflemen that stand in your way. Move while hugging the wall next to the rifleman’s location to get to the other side, and then drop down to find your prayer bead lying in the snow.
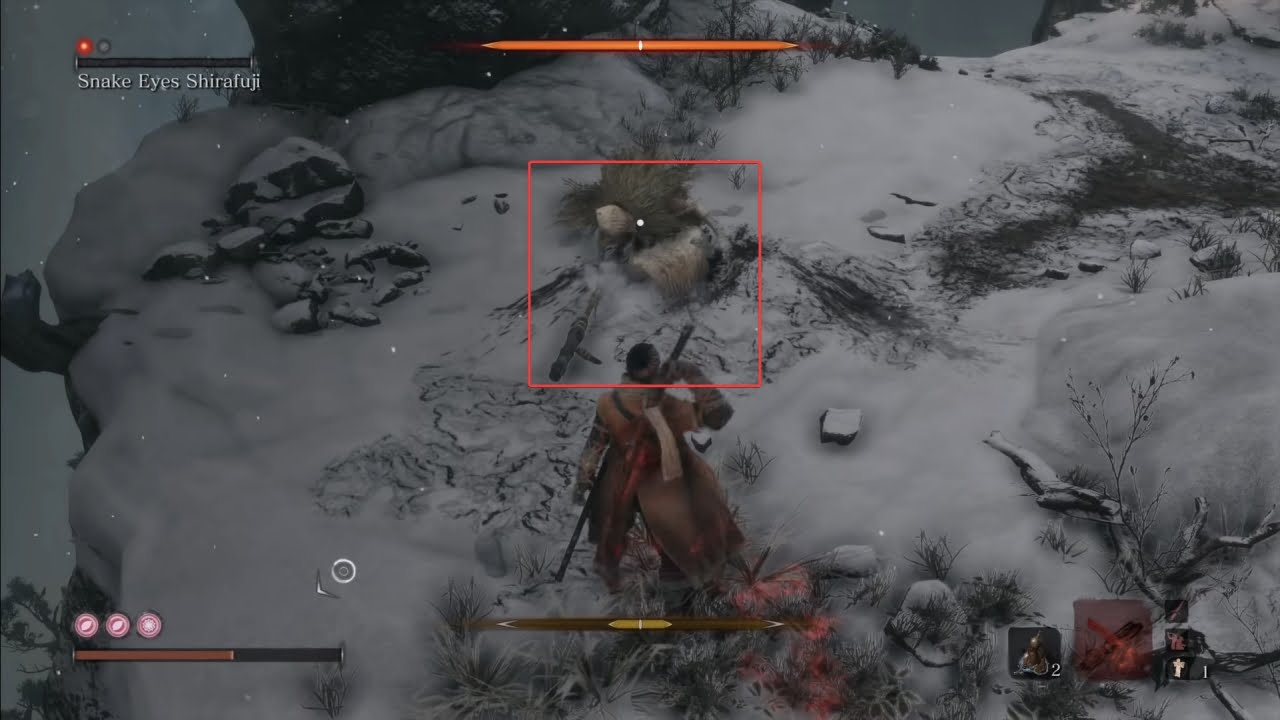
18. Near the “Sunken Valley” idol, find the boss, Snake Eyes Shirafuji, and defeat him to get the next prayer bead.
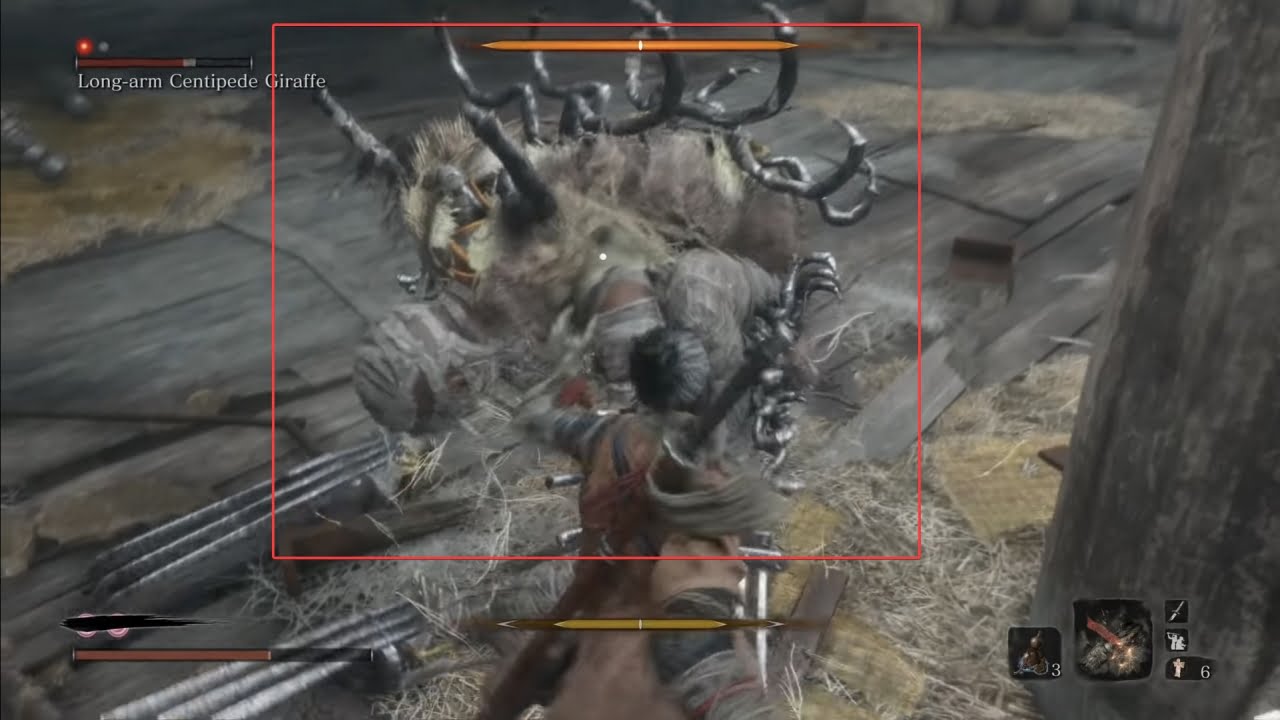
19. The next bead is also dropped by defeating the boss, Long-arm Centipede Giraffe, who waits for you near the “Sunken Valley – Gun Fort” idol.
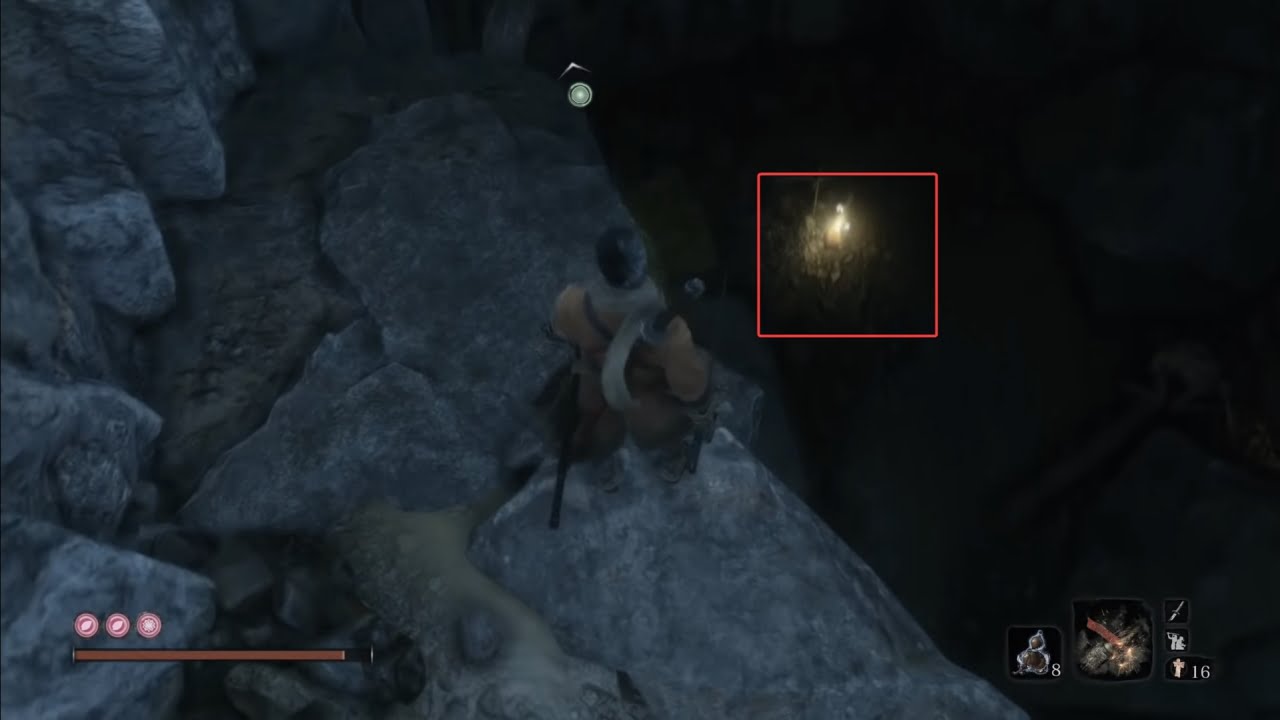
20. Don’t leave the site after defeating the Long-arm Centipede Giraffe to grab the next prayer bead. Find a hole that takes you underground and drop inside. Crawl on until you see two paths. Choose the left one since the right one is blocked. Once you crawl through, you’ll see a room with red lights. Grapple over it and go to the opening on the right. Drop down, and your prayer bead lies in the snow.
Ashina Depths
21. Defeat Snake Eyes Shirahagi to get your hands on the following prayer bead. You will find him near the “Ashina Depths” idol.
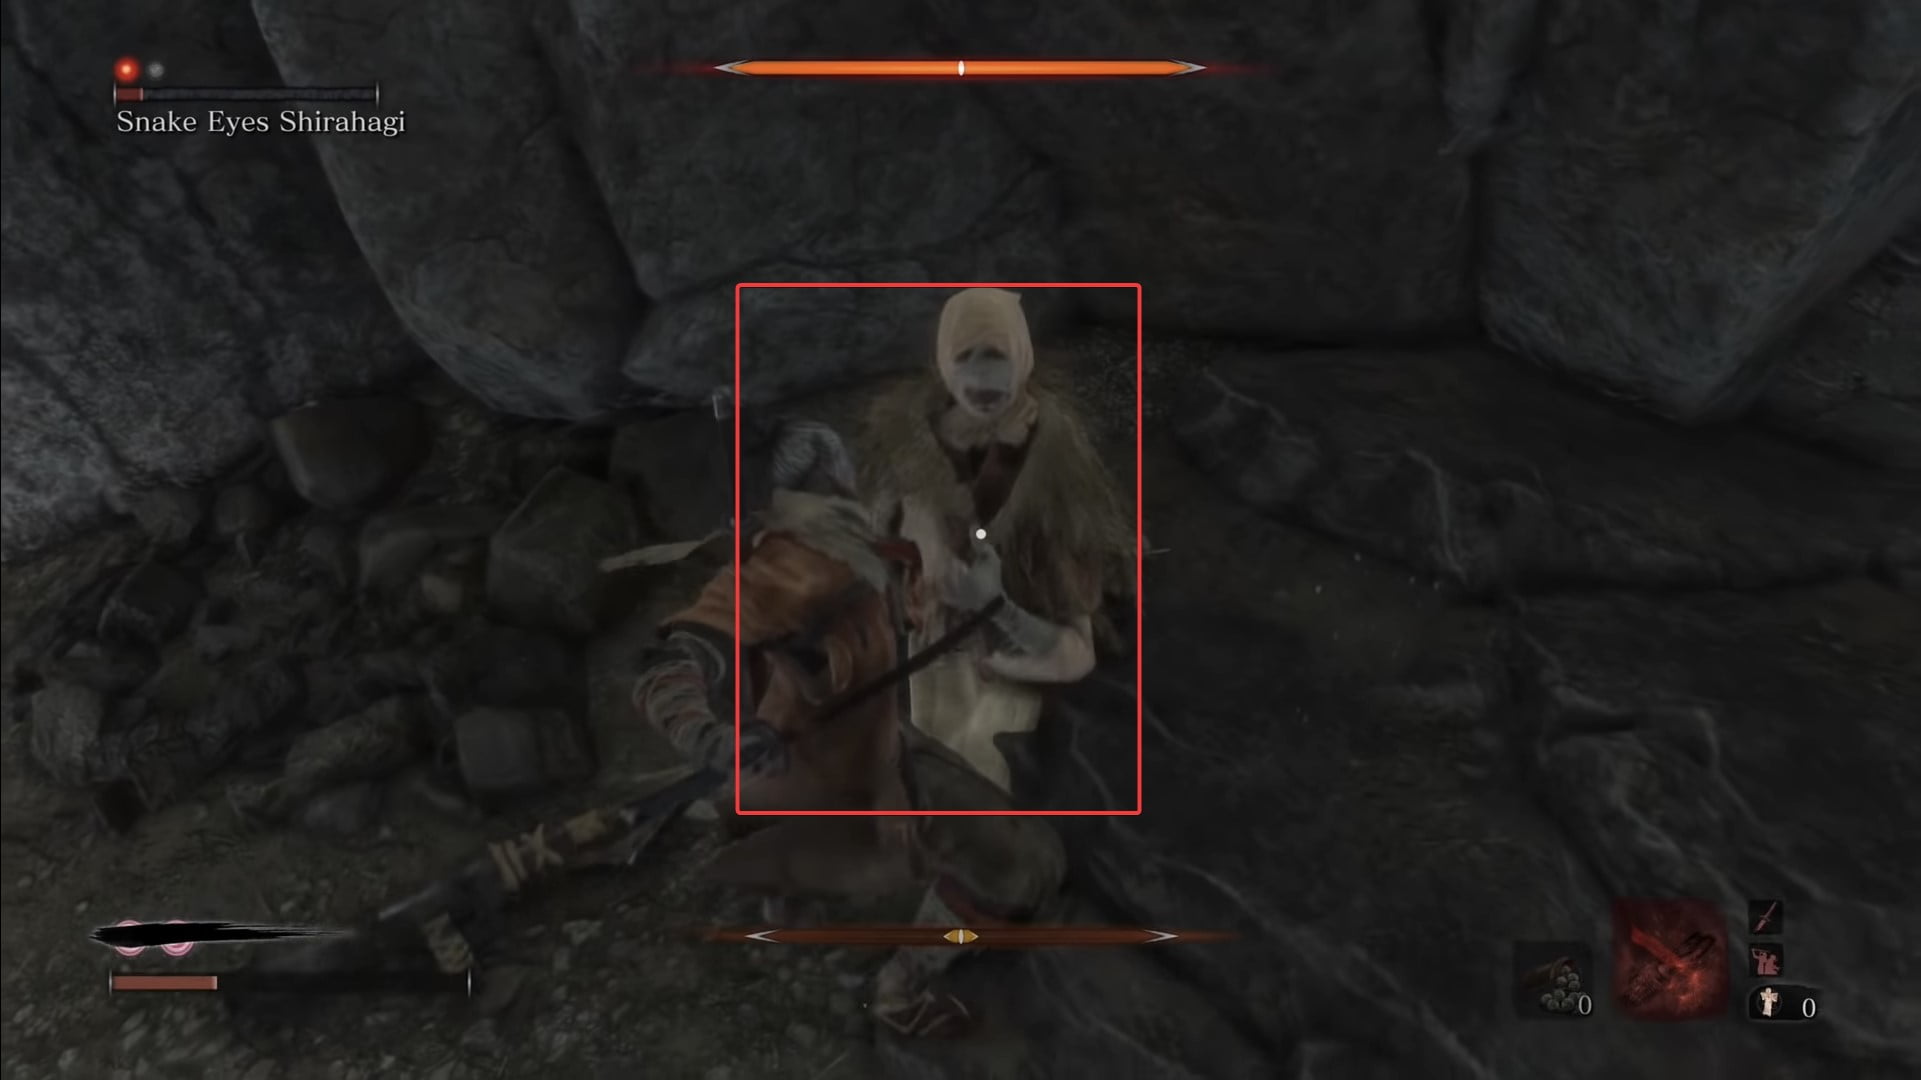
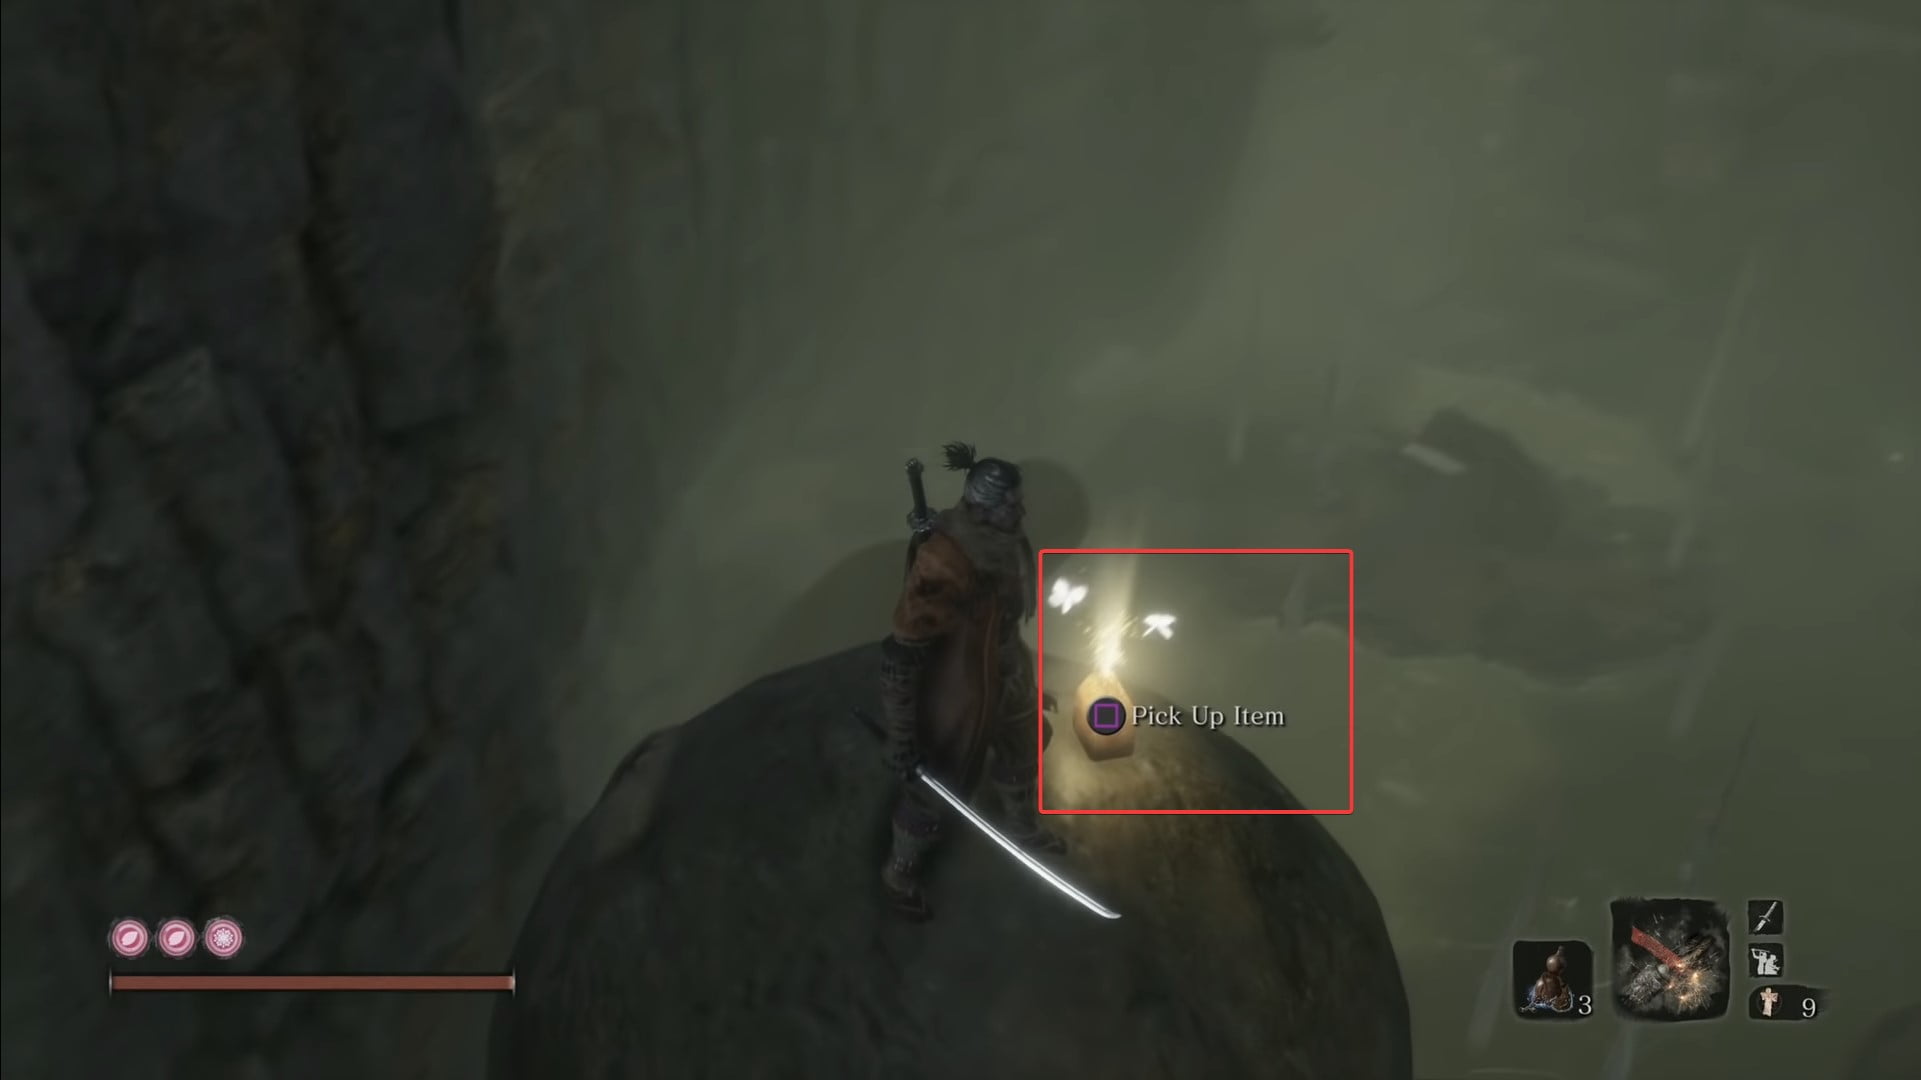
22. Once you defeat Snake Eyes Shirahagi, go past the fog gate that he is guarding, and you’ll get to the drop into the Ape’s Den. Don’t drop down, but look to the top left for a grapple point and follow that path until you crouch. After the area where you crouch for the first time, you’ll see an opening on the left. Take that and climb the consecutive walls to get to the top. This will lead you to the top of the statue, grapple up to his head, and you will find the prayer bead waiting for you.
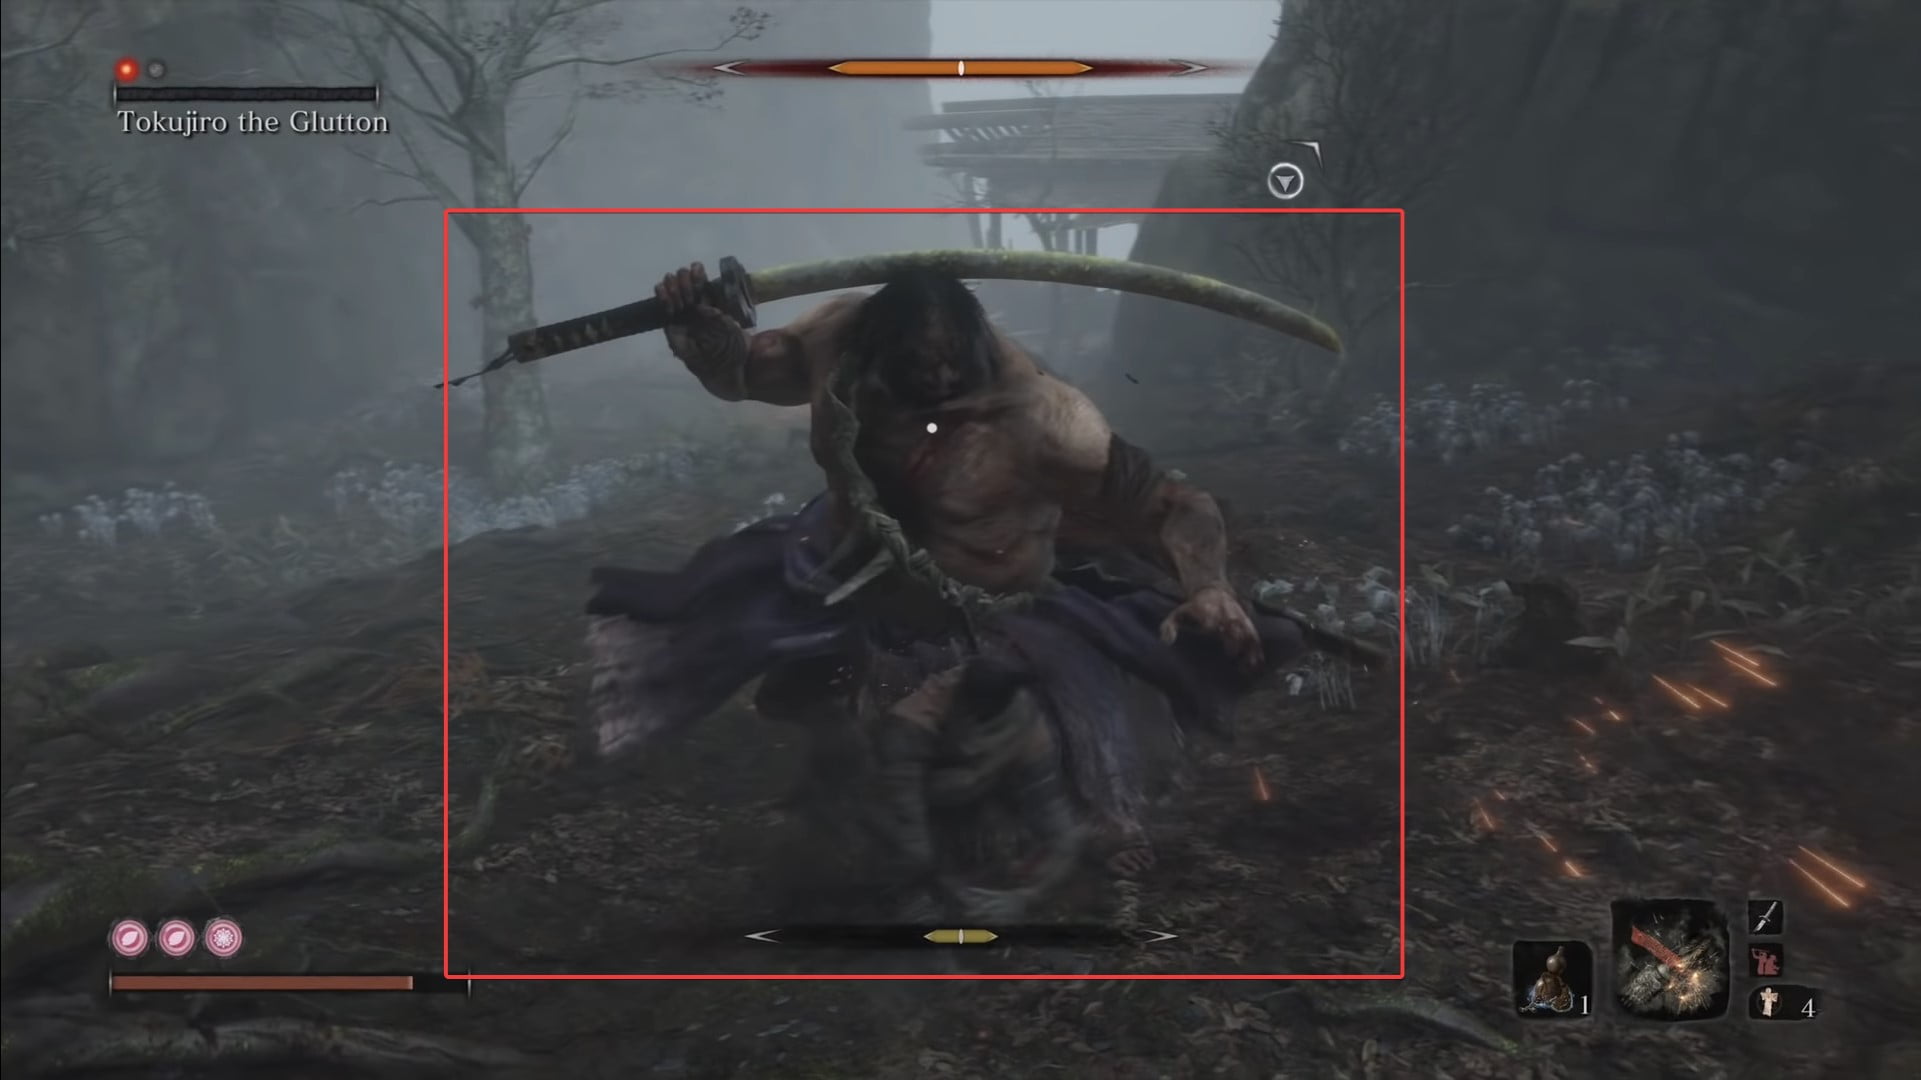
23. Defeat Tokujiro the Glutton to get the next prayer bead. He resides in the misty forest where it is easy to get lost, but you can find him by following the lights in the trees right after the “Ashina Depths – Hidden Forest” idol.
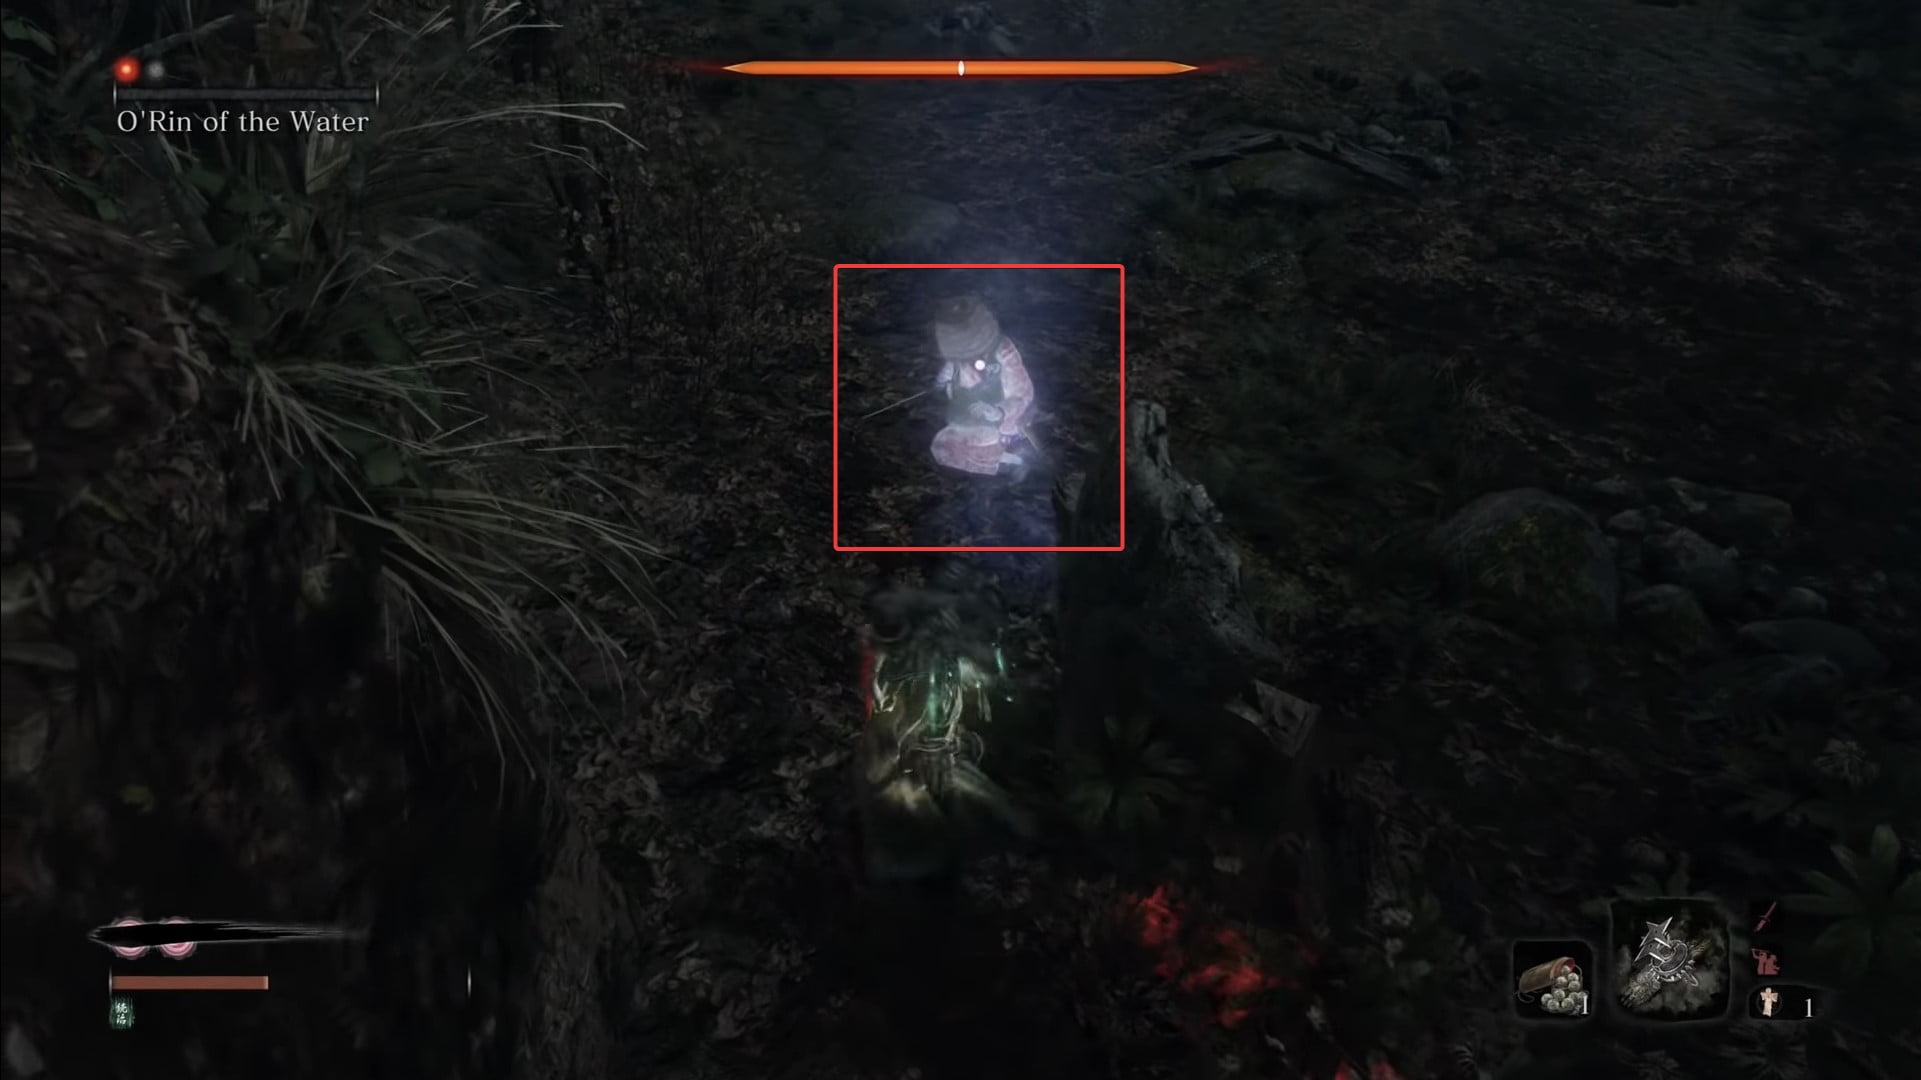
24. In Mibu Village, defeat O’Rin of the Water, who is waiting for you near the “Ashina Depths – Water Mill” idol.
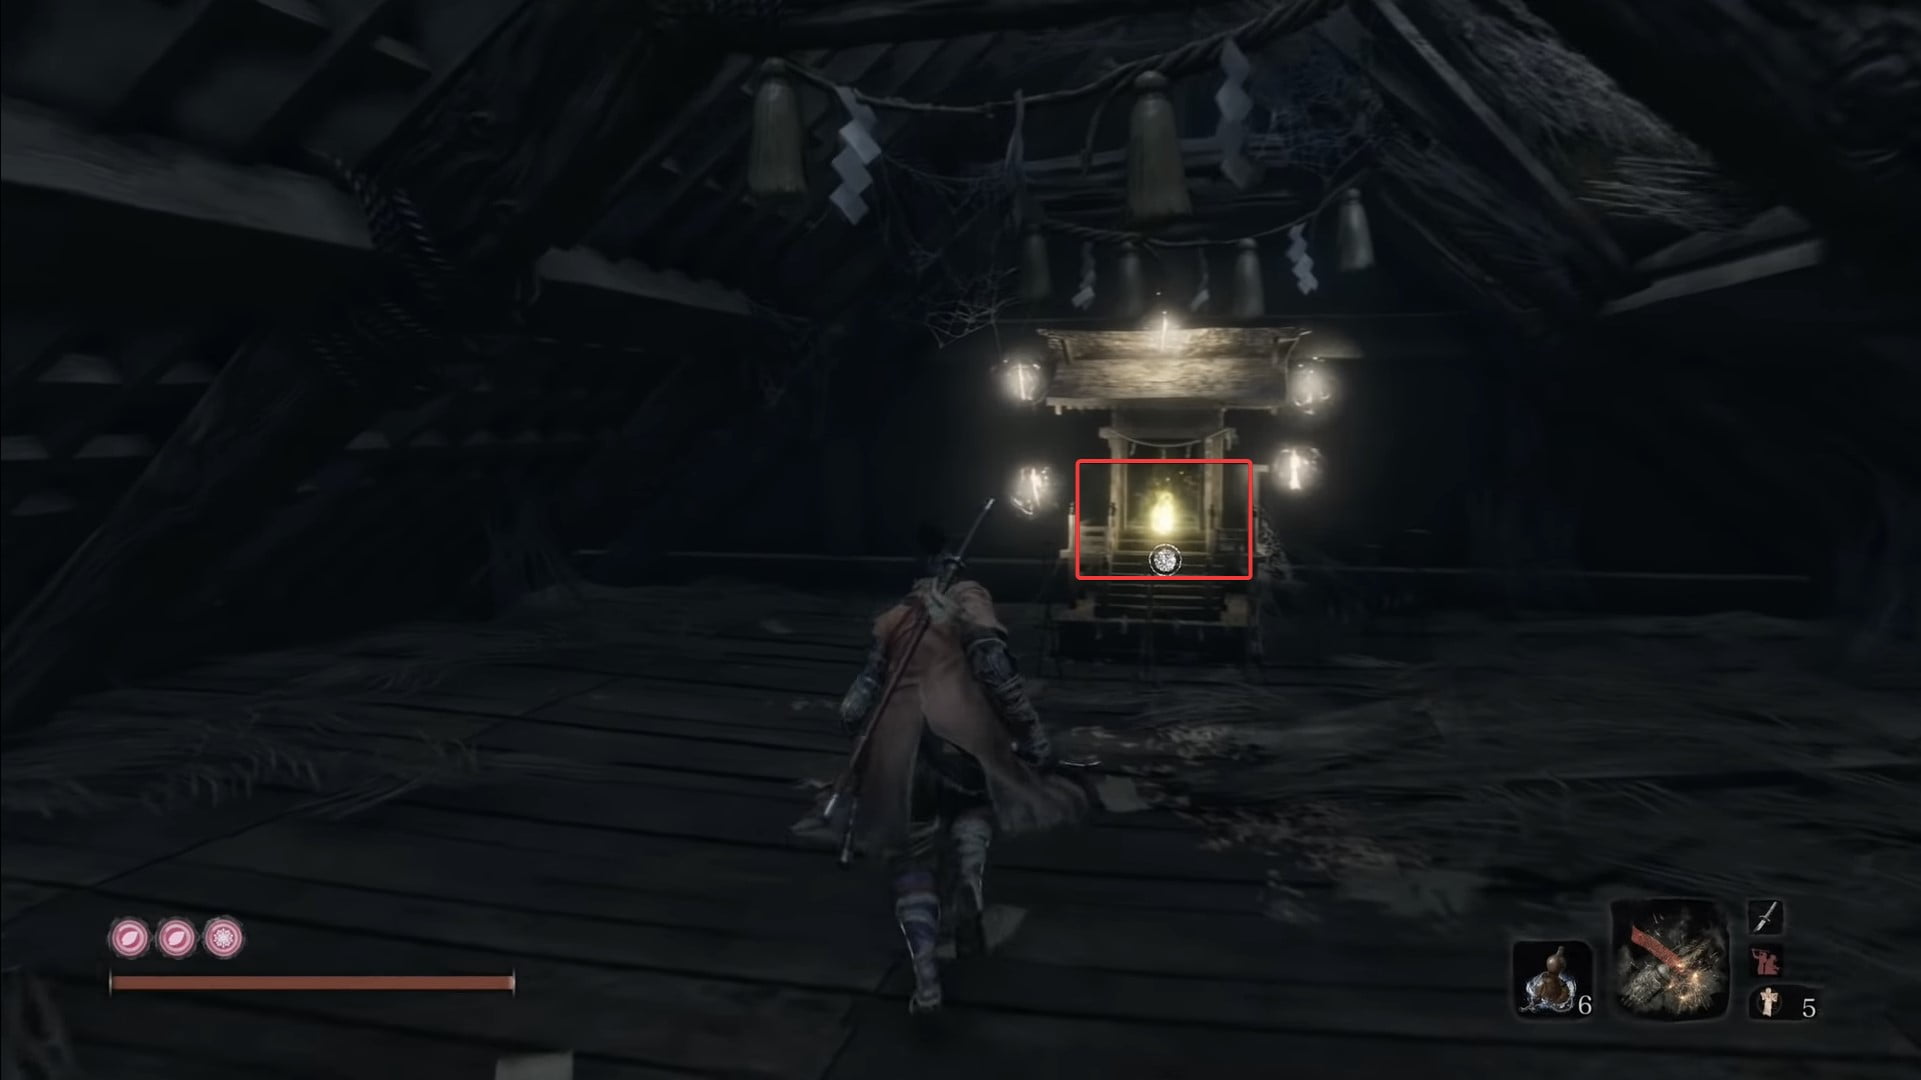
25. From the “Ashina Depths – Wedding Cave Door” idol, move down the path and turn left to find a house surrounded by enemies. Crawl beneath the place to find the rotating door to get inside the house. Now, head to the large opening in the house and turn around to see the grapple point up to the attic. There, you will find your next prayer bead.
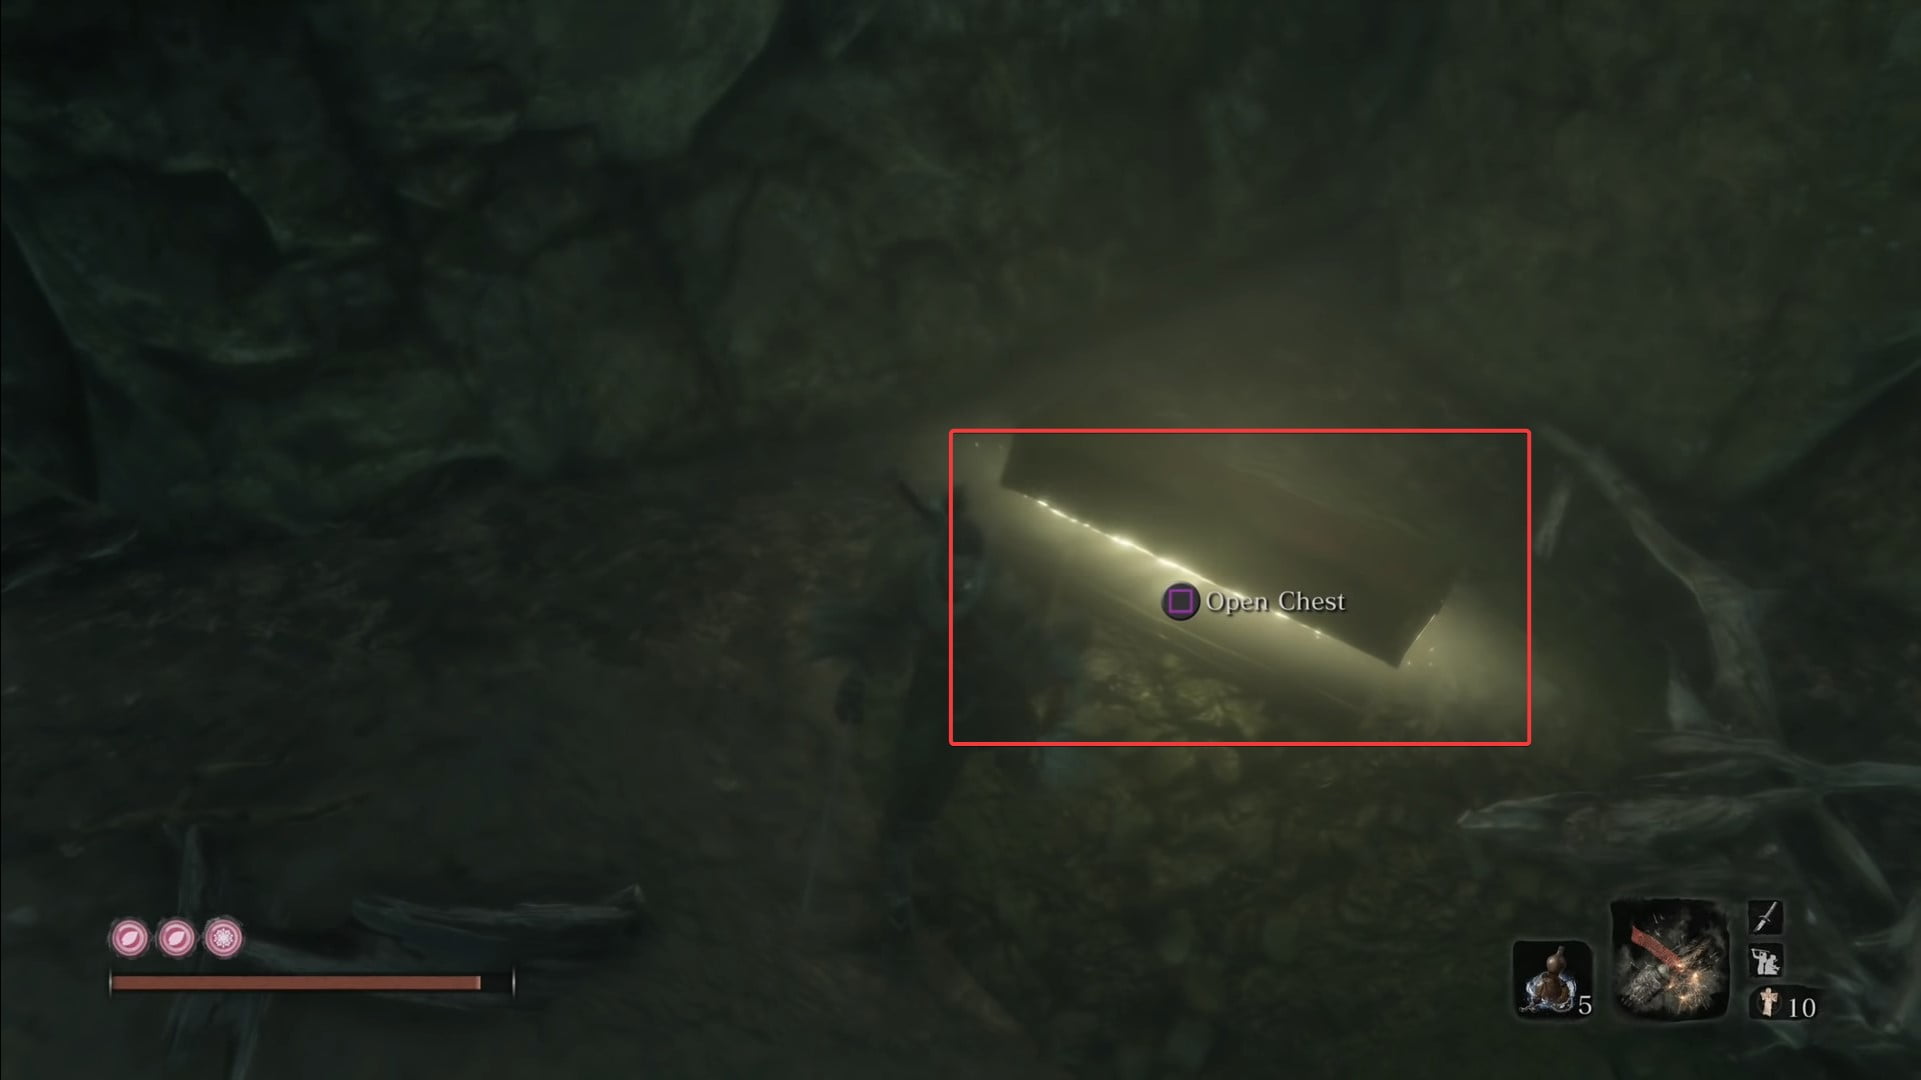
26. For the next prayer bead, you must defeat the Corrupted Monk in the Water Mill area to unlock the ability to breathe underwater. Go to the “Ashina Depths – Mibu Village” idol and dive into the river. Go deep into the water towards the right and find a glowing treasure chest that contains your next prayer bead.
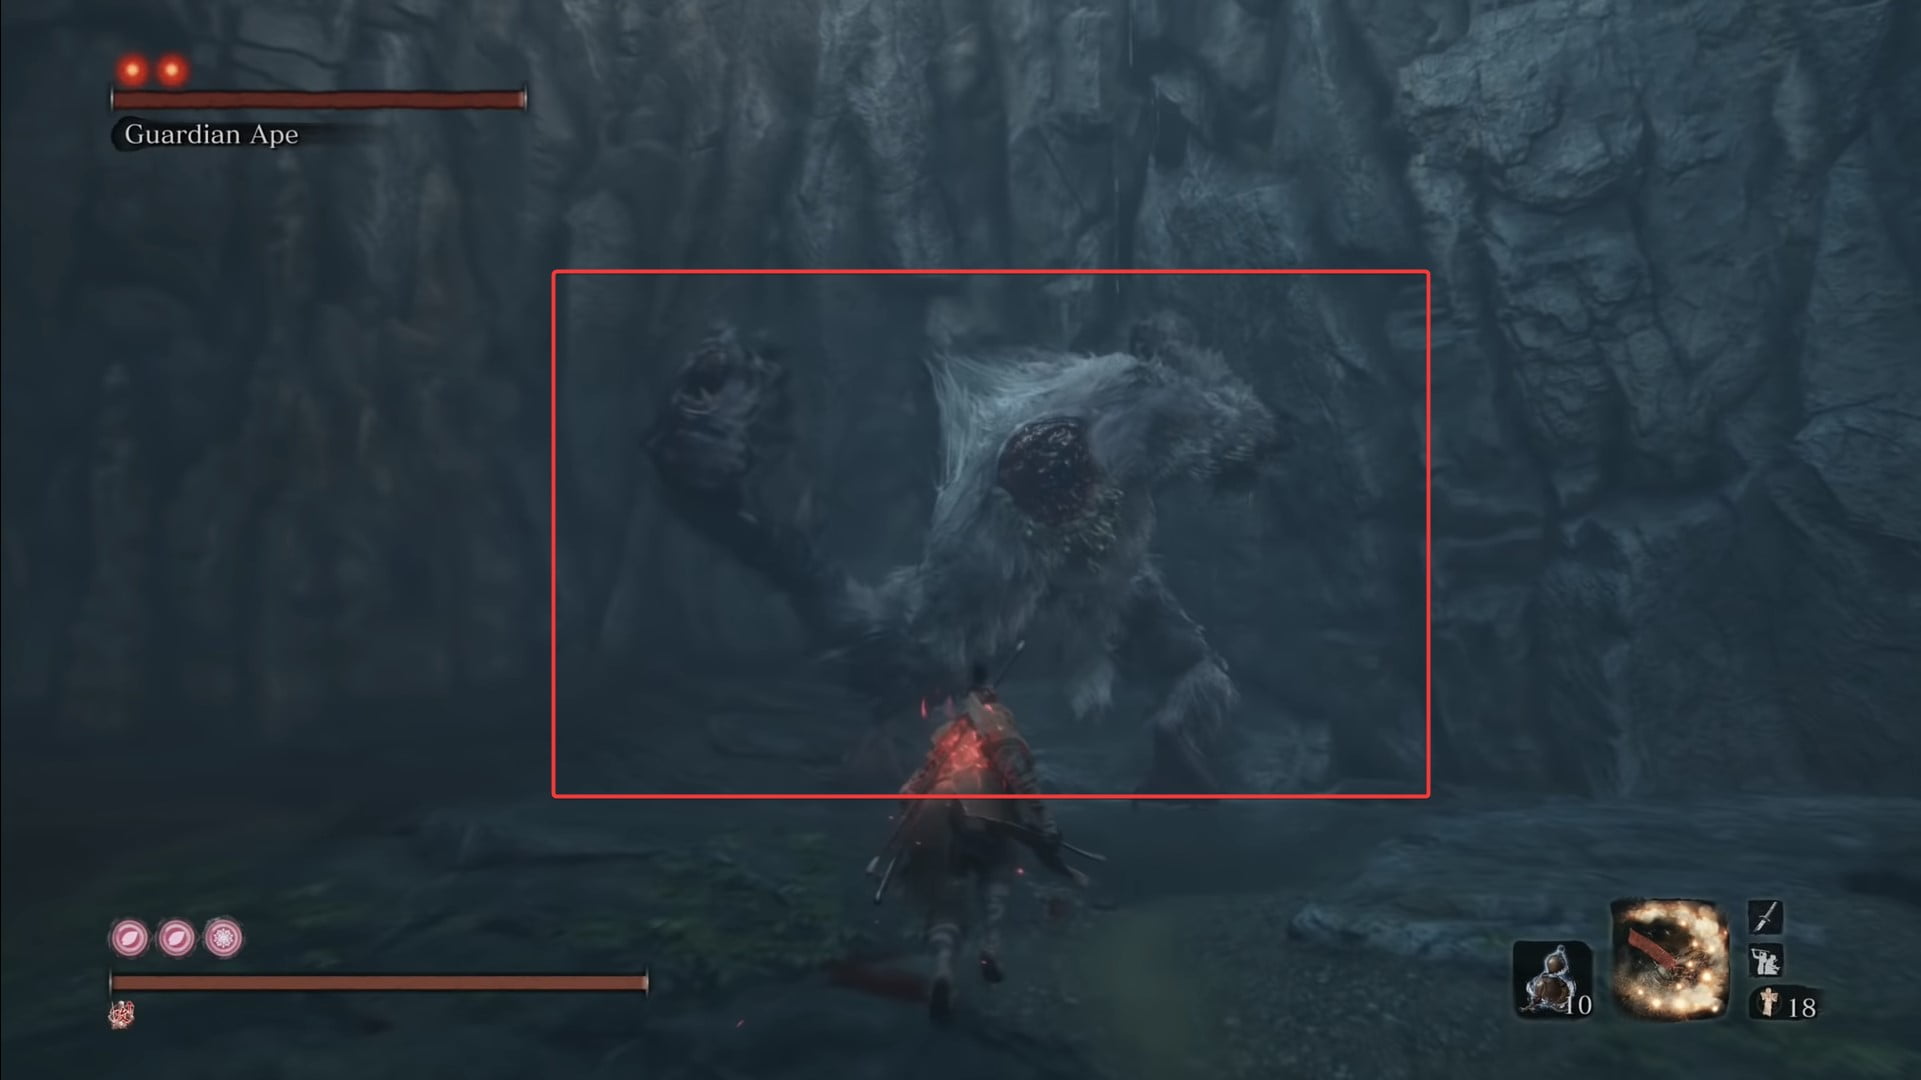
27 and 28. Reach the “Ashina Depths” idol and drop down from the cliff by using the statues as grapple points. Find a giant cave on your right and defeat the Guardian Apes.
Senpou Temple, Mount Kongo
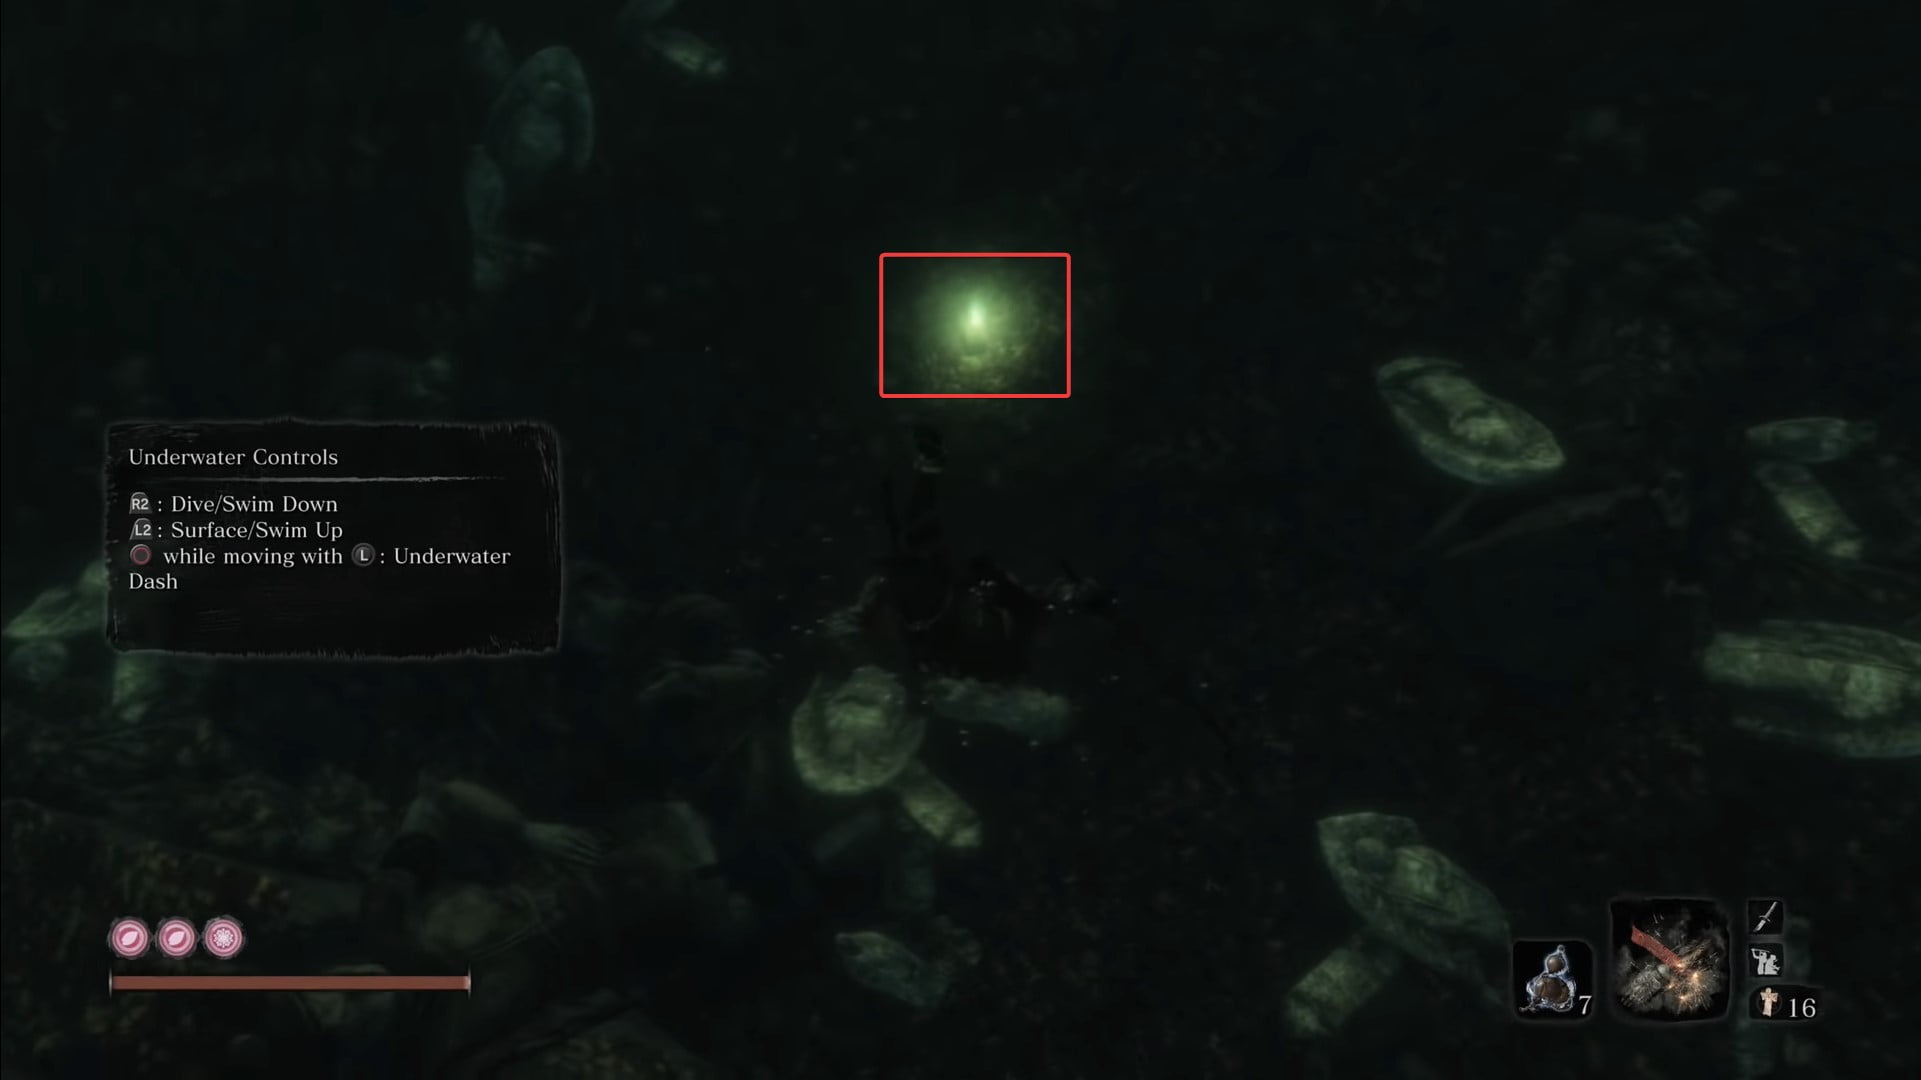
29. Now that your skill for breathing underwater is unlocked, let’s take a journey back to “Mount Kongo – Temple Grounds.” Go to the pool past the houses, dive in, and see the prayer bead glowing beside a few statues.
Ashina Castle
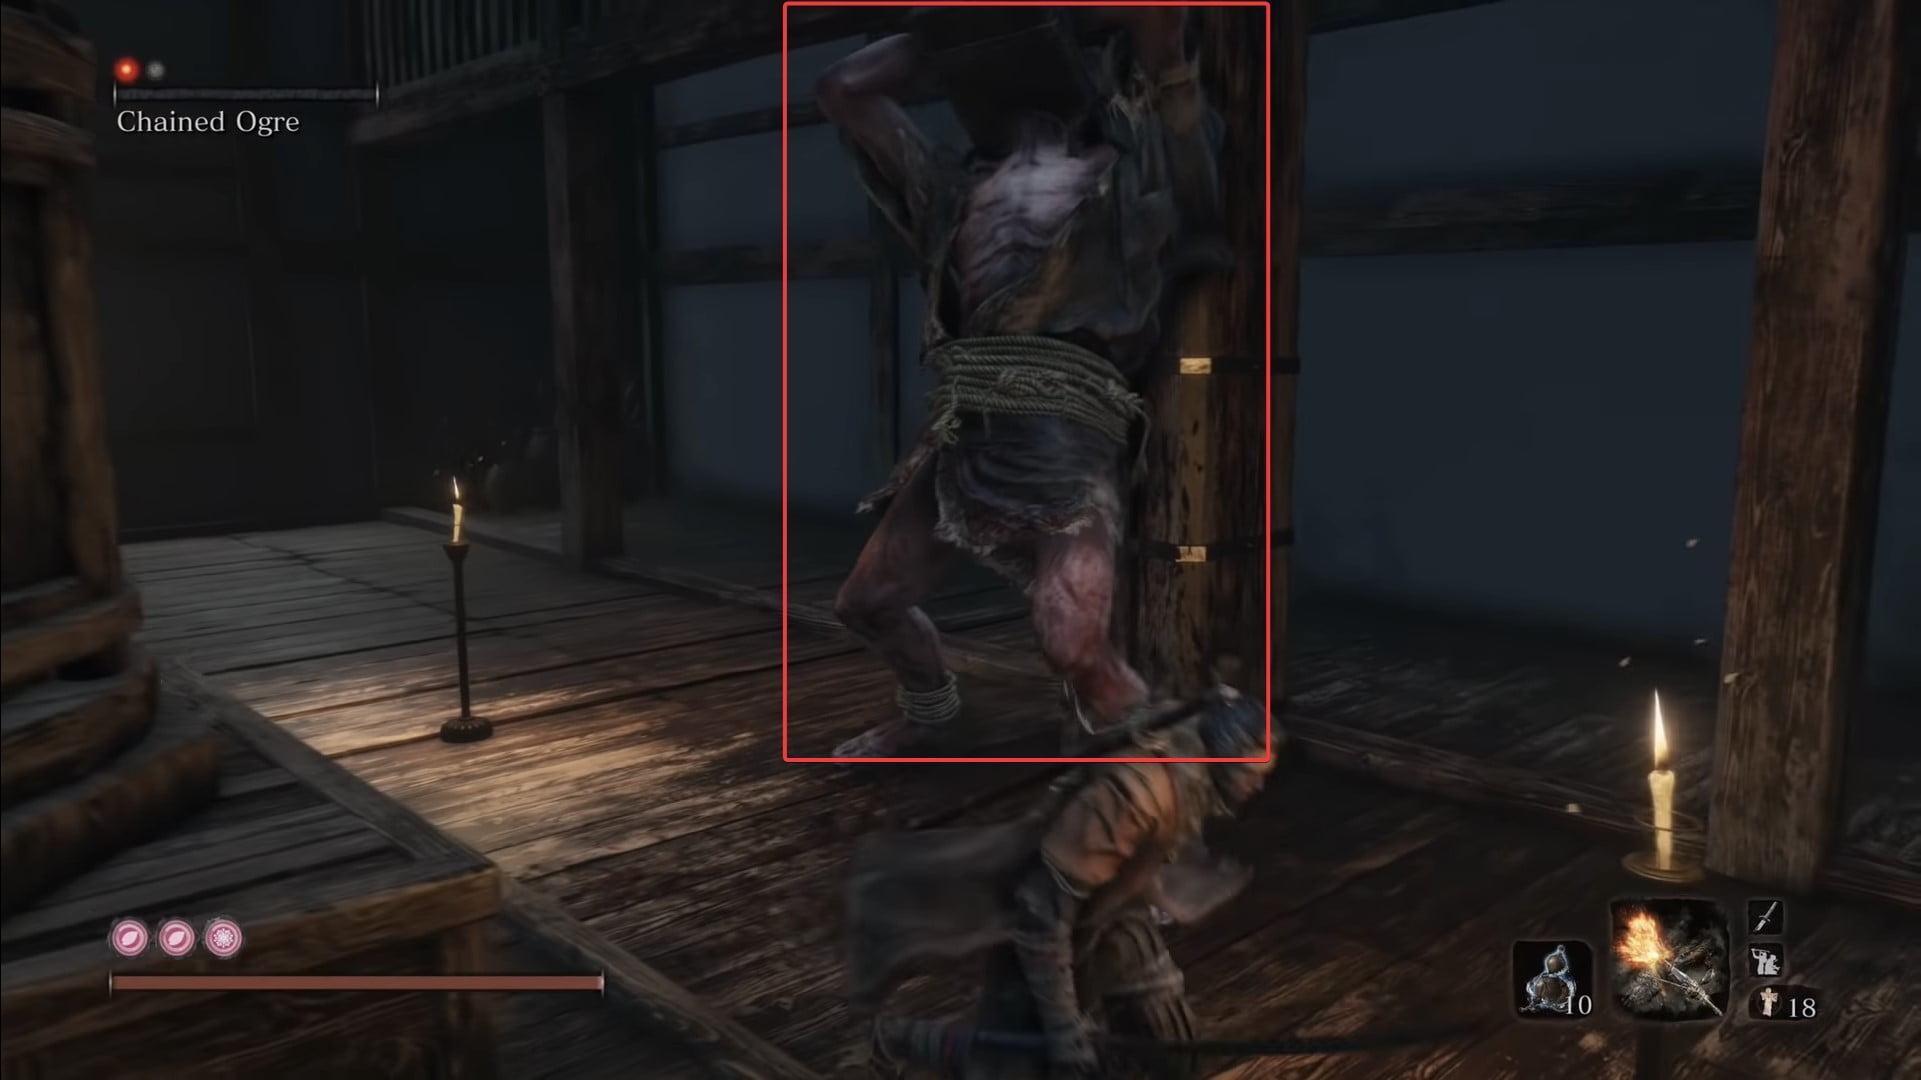
30. Now that you have defeated the Corrupted Monk and the Guardian Apes, go to the “Upper Tower – Antechamber” and grapple along the path to the bottom to find a new Chained Ogre. Defeat him again to get another prayer bead.
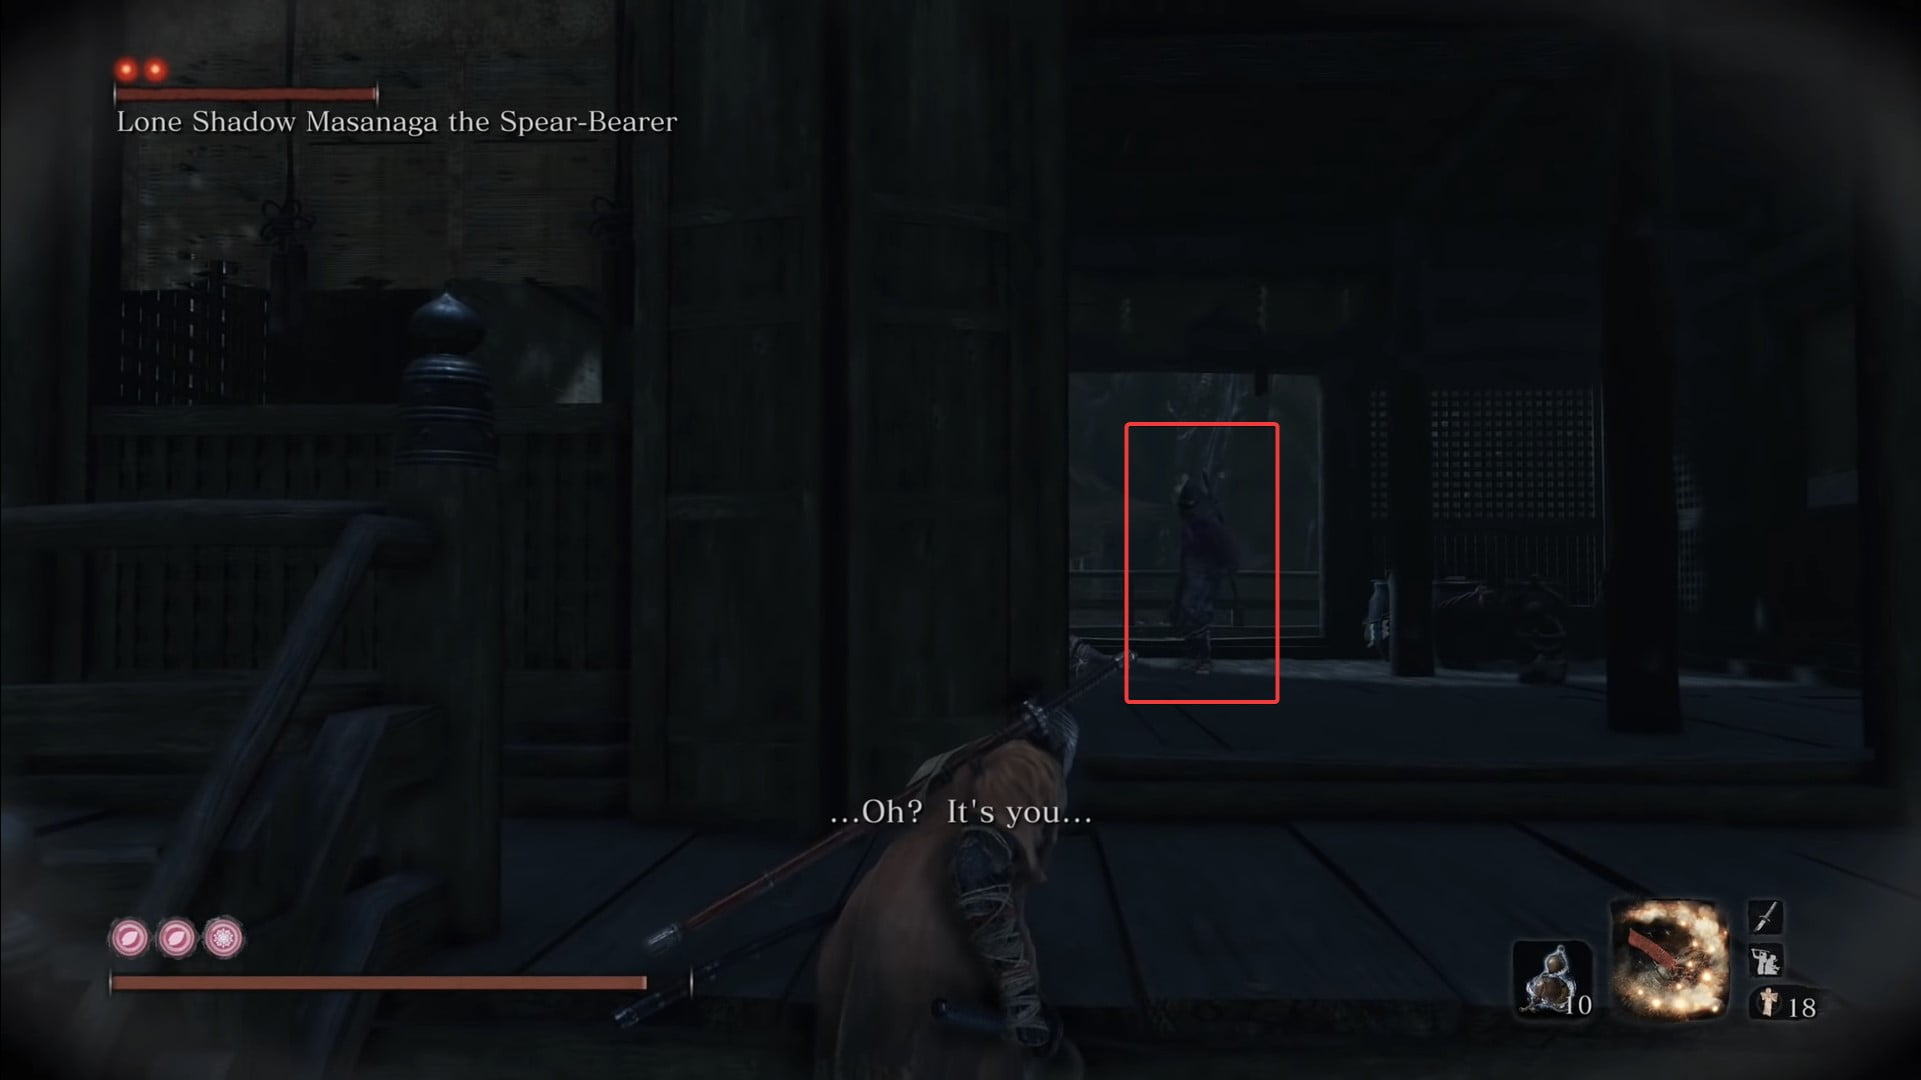
31. Next, battle Lone Shadow Masanaga the Spear-Bearer, for a prayer bead. To get to him, start from the “Ashina Castle – Old Grave” idol, enter the building, and make a right turn. You’ll encounter enemies on the way, but making a run for it through the building and into the forest is recommended. Follow the pathway in the woods to a small house where the boss awaits you.
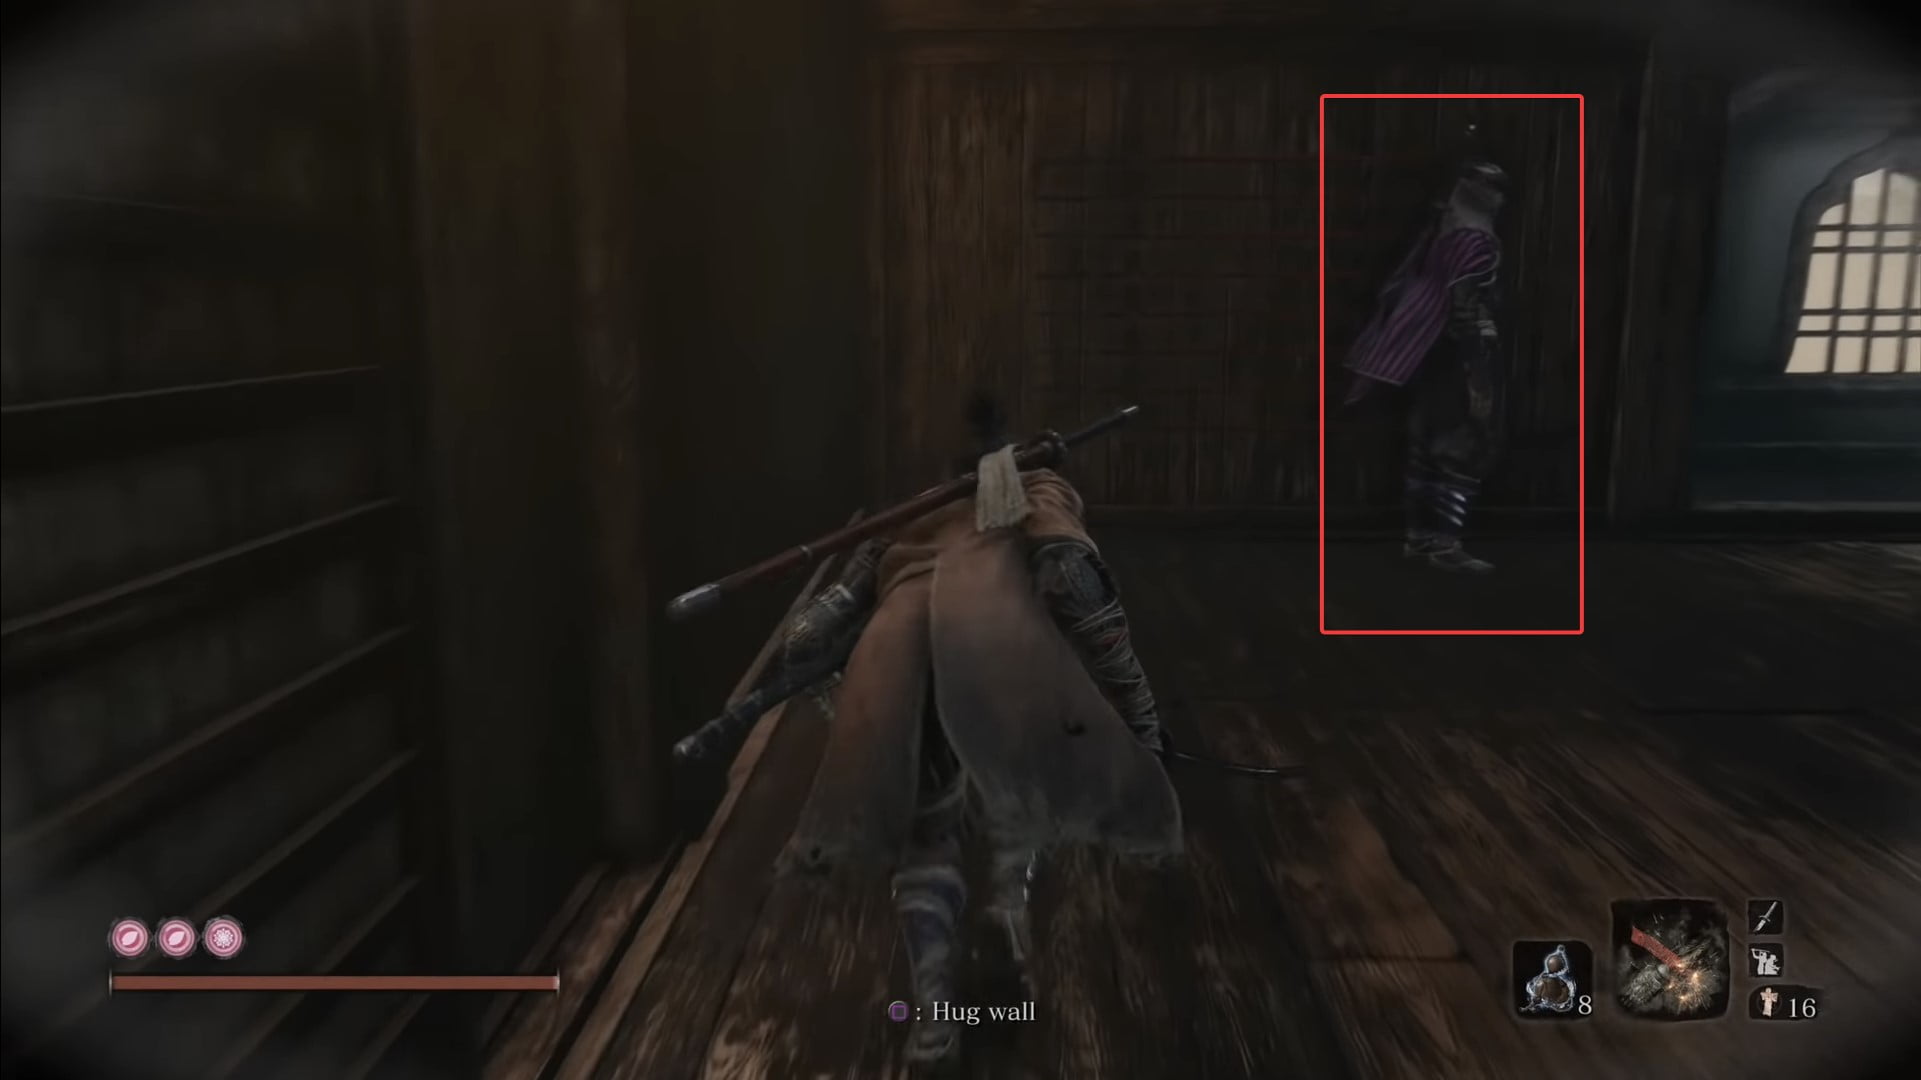
32. The next boss, Lone Shadow Vilehand, waits for you near the “Upper Tower – Ashina Dojo” idol. Sneak up on him to quickly take victory with your next prayer bead.
Hirata Estate
The following prayer beads will only be available if you opt for purification ending, and to do so, you must select the “Break the Iron Code, stay loyal to Kuro” option when you meet Owl.
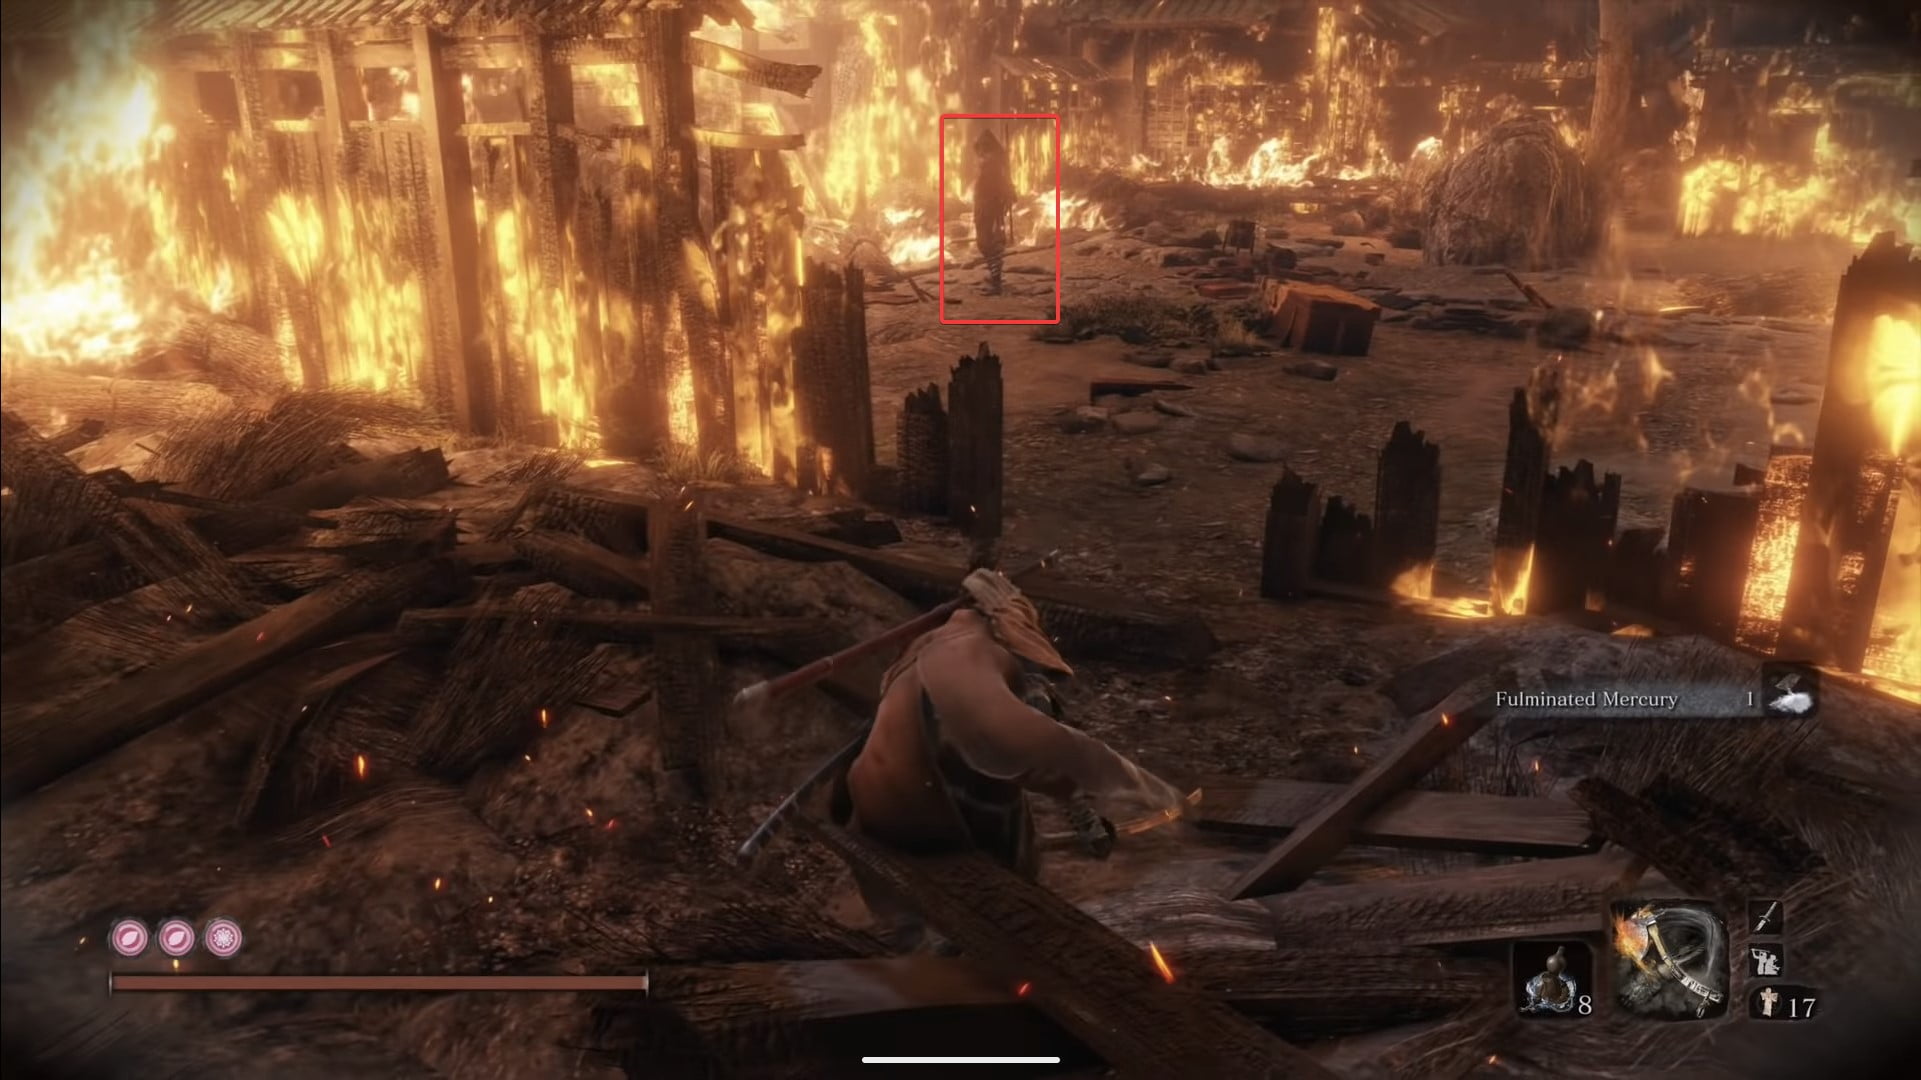
33. For the next bead, you must go against Lone Shadow Masanaga the Spear-Bearer, again. Go to the “Hirata Estate – Bamboo Thicket Slope” idol and go to the burning house where you found the dying Owl.
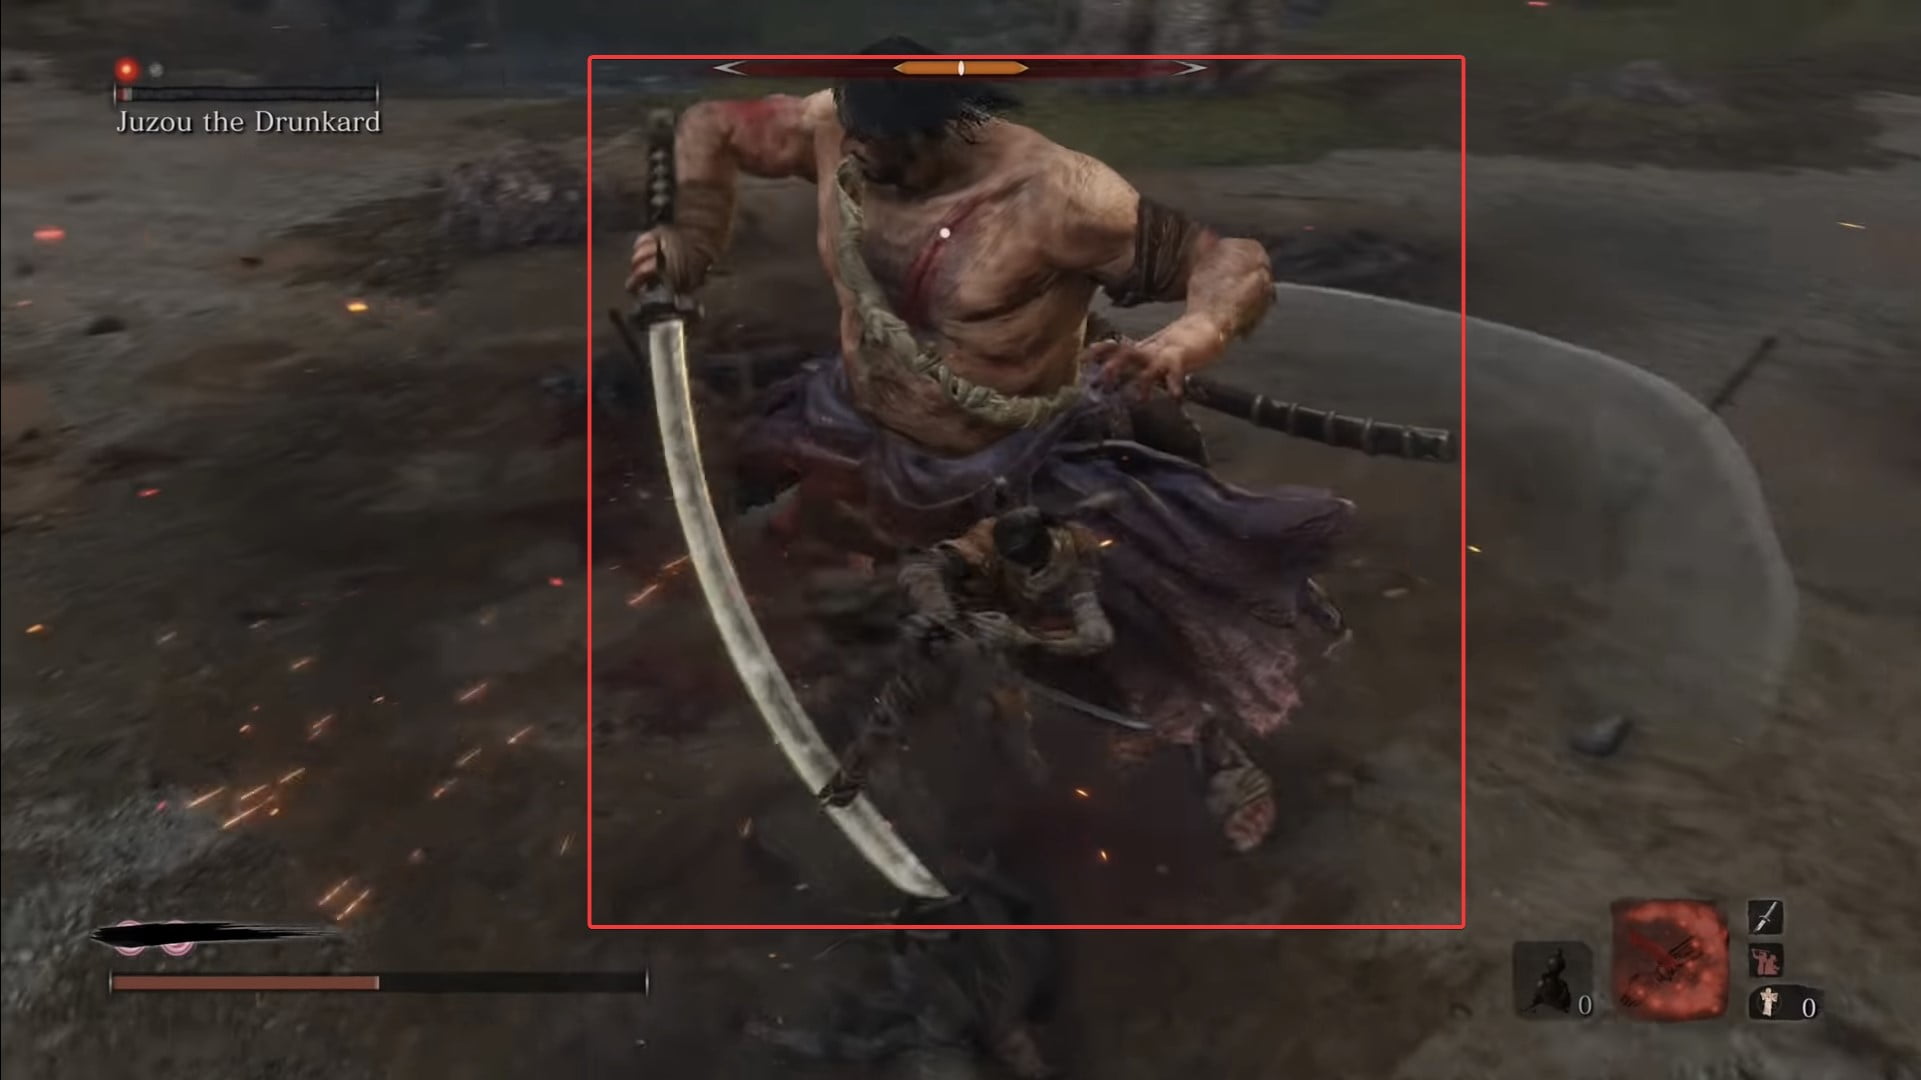
34. Once again, you must fight a boss you have already defeated. If you go to the Hirata Audience Chamber from the “Hirata Estate – Main Hall” idol, you will encounter Juzou the Drunkard, who will drop another bead upon defeat.
Fountainhead Palace
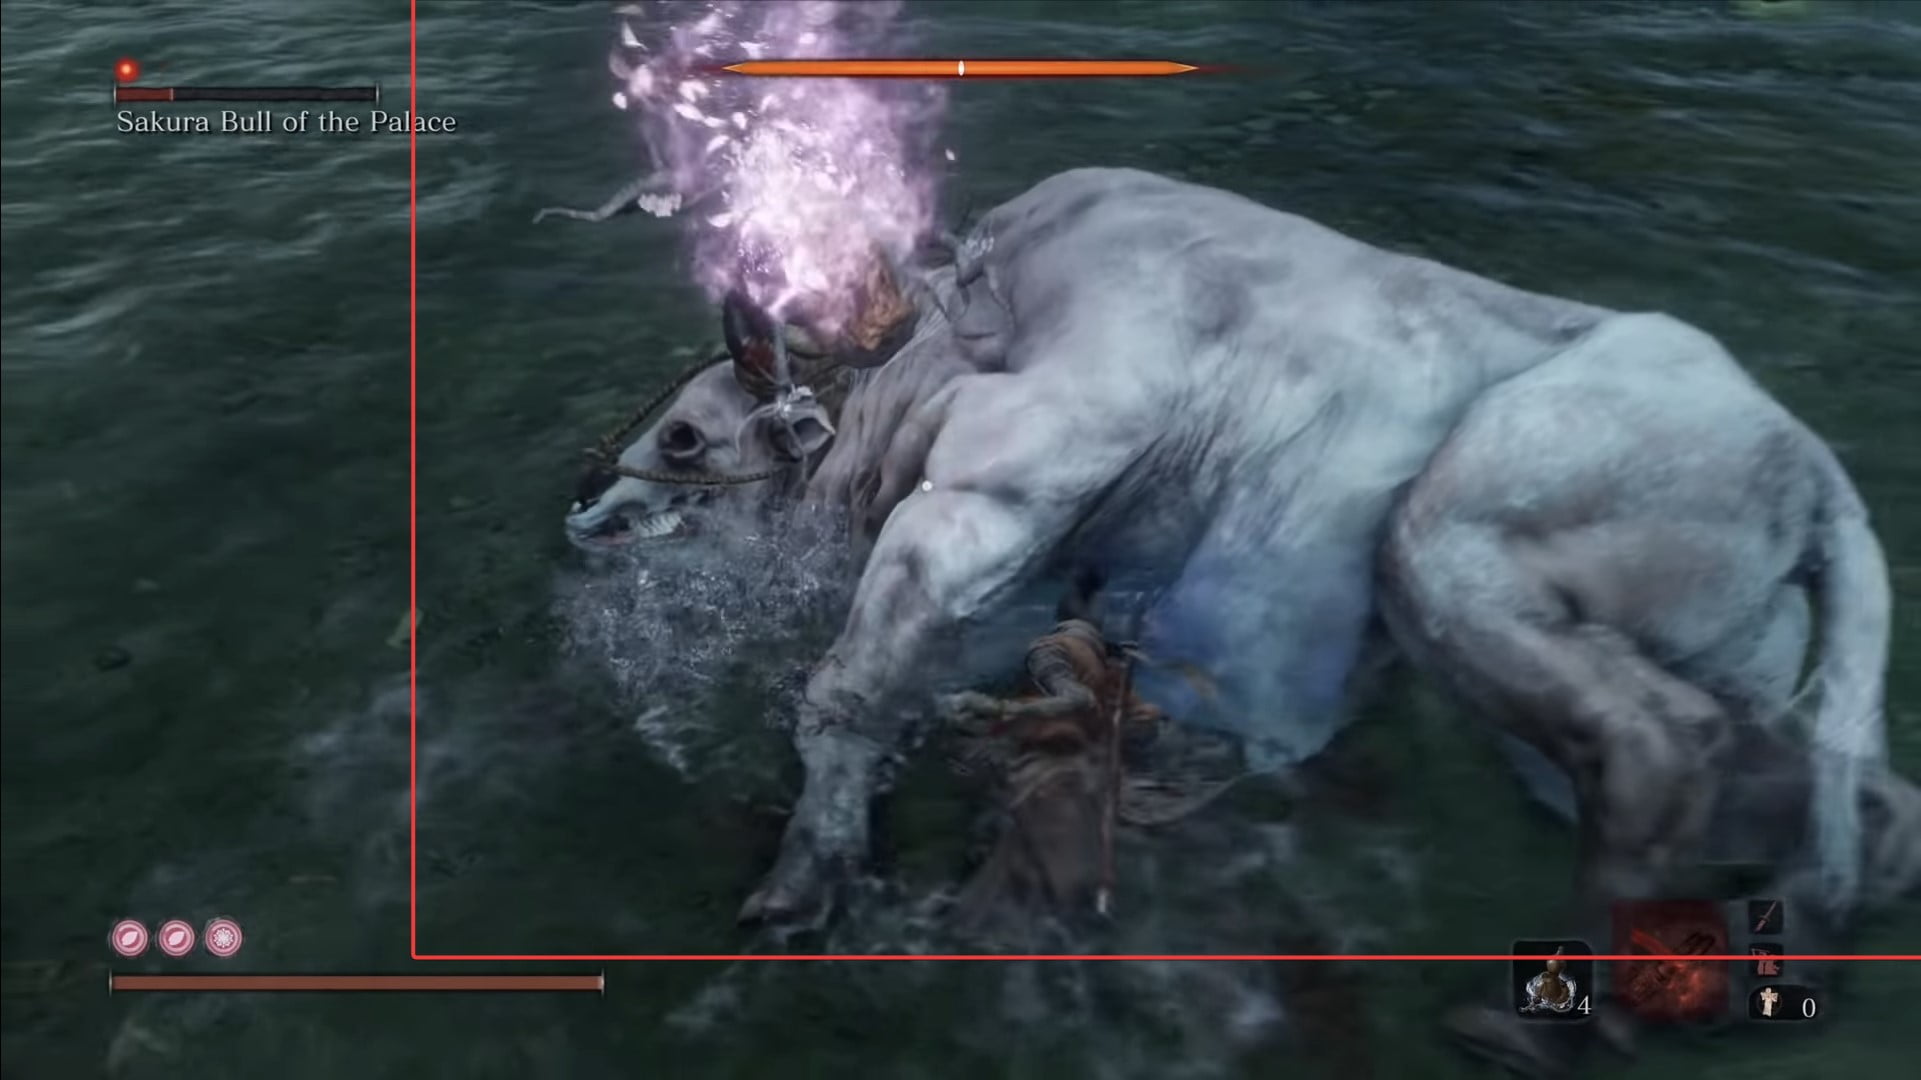
35. Defeat Sakura Bull of the Palace for the next prayer bead. He roams near the “Fountainhead Palace – Flower Viewing Stage” idol.
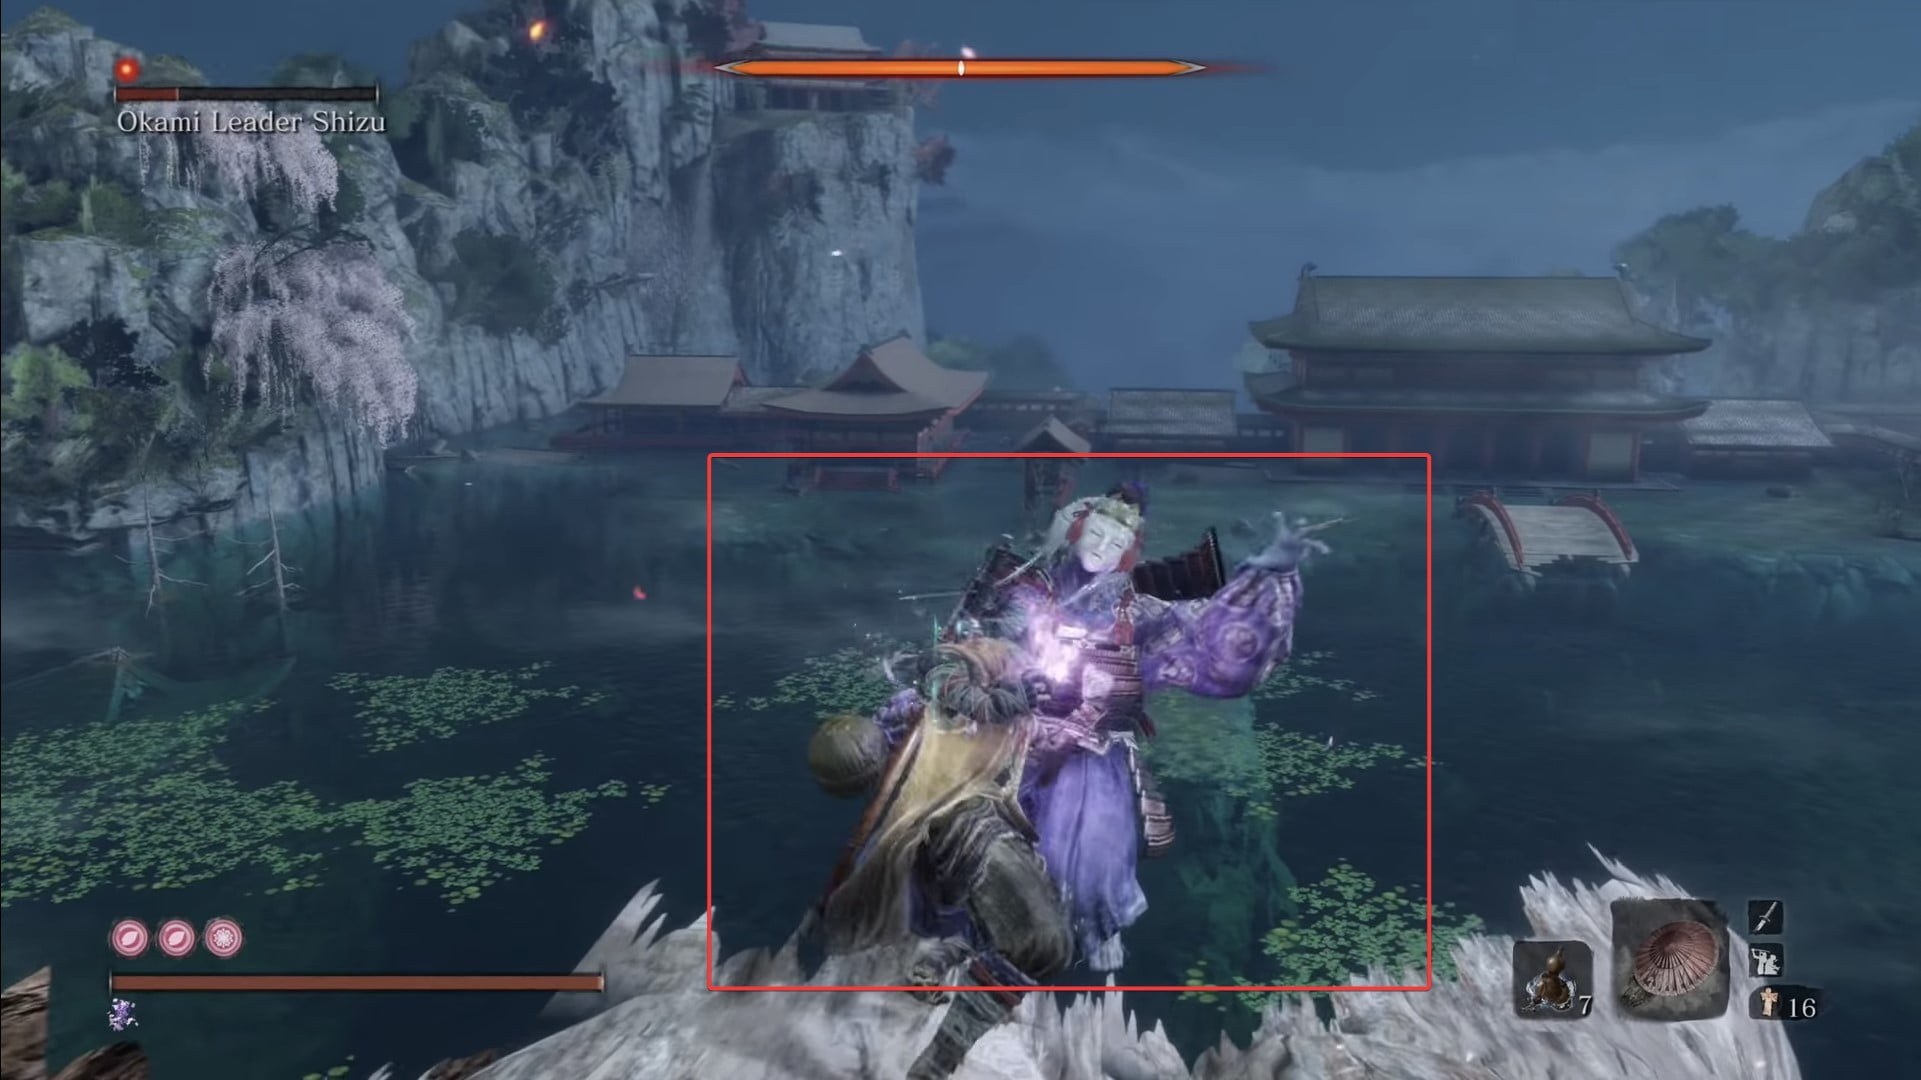
36. The next prayer bead is also rewarded by defeating a boss named Okami Leader Shizu. He is spotted easily from the “Fountainhead Palace – Great Sakura” idol.
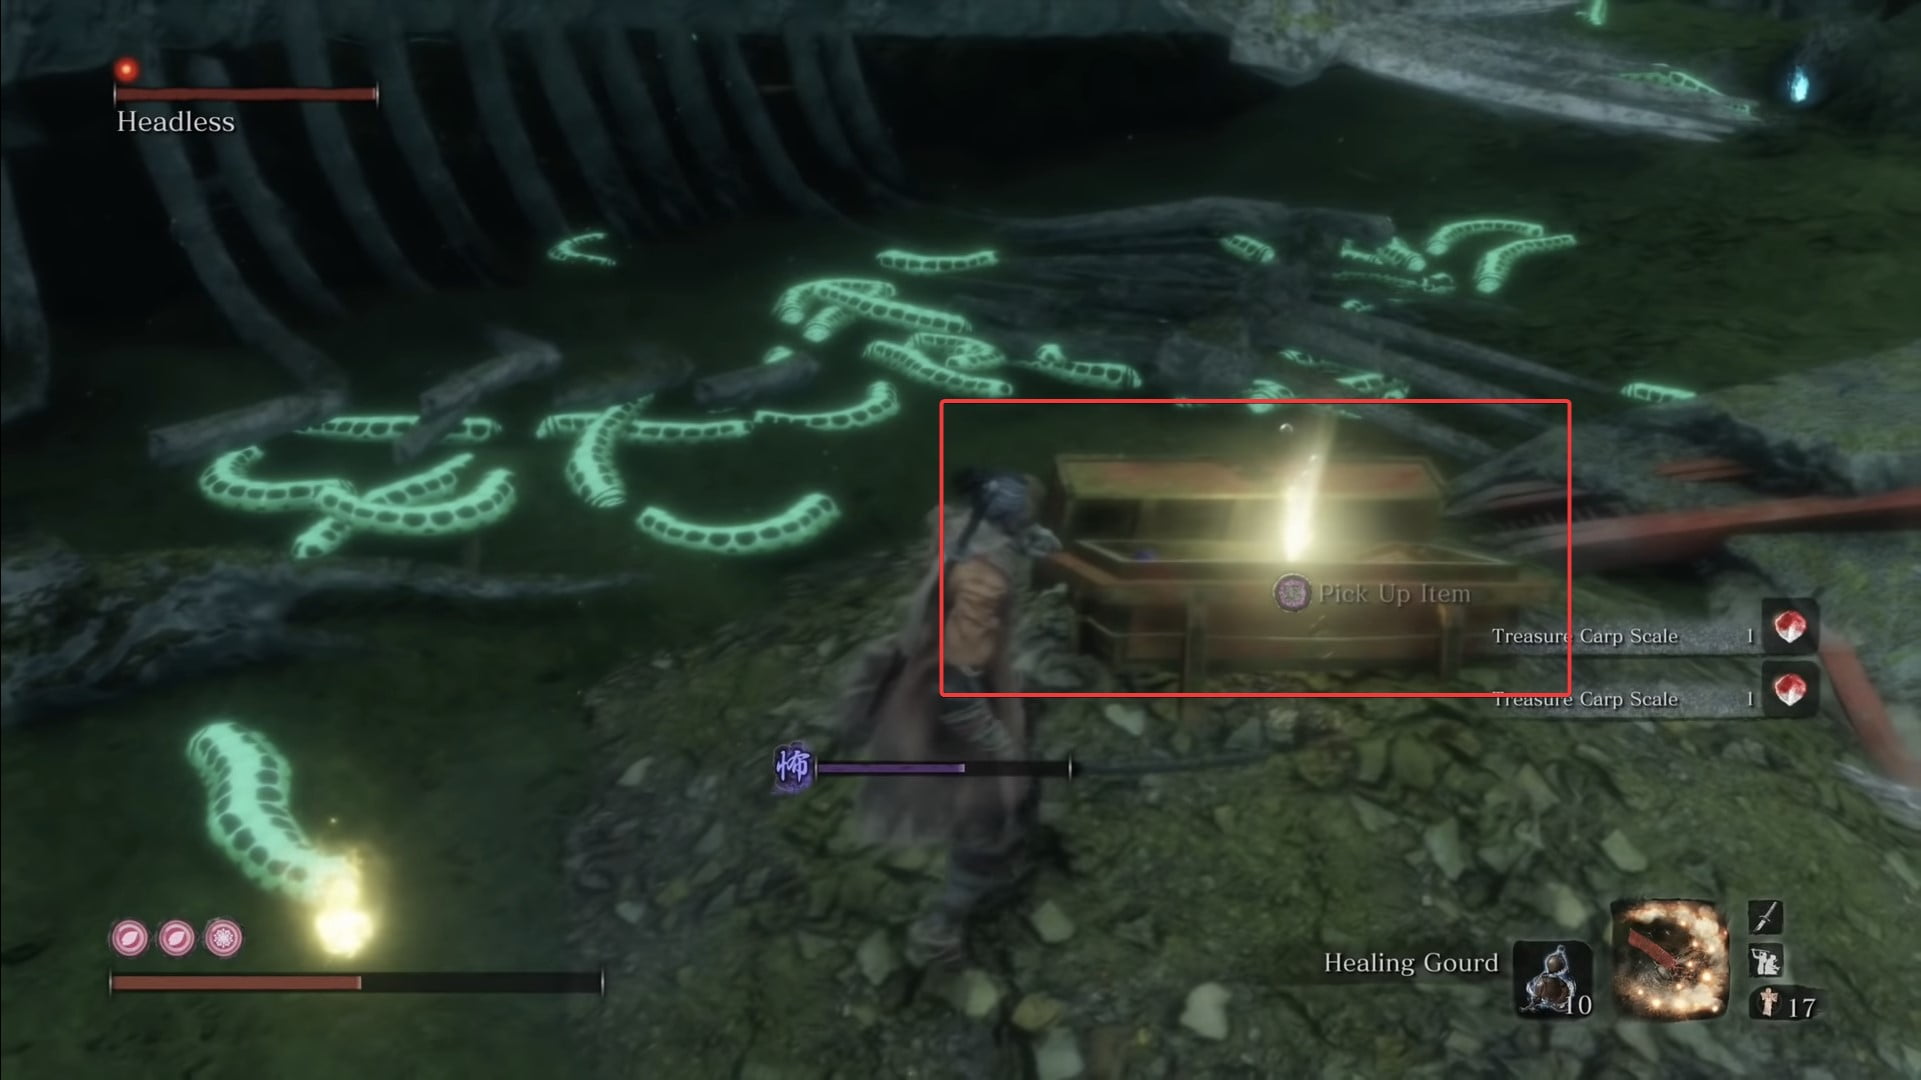
37. From the “Fountainhead Palace – Feeding Grounds” idol, dive deep into the water until you find skeletons. You will find a treasure chest beside one of the enormous skeletons containing another prayer bead.
Ashina Castle
38. Find “Seven Ashina Spears – Shume Masaji Oniwa” near the “Ashina Castle – Ashina Reservoir” idol and defeat him to get the next prayer bead.
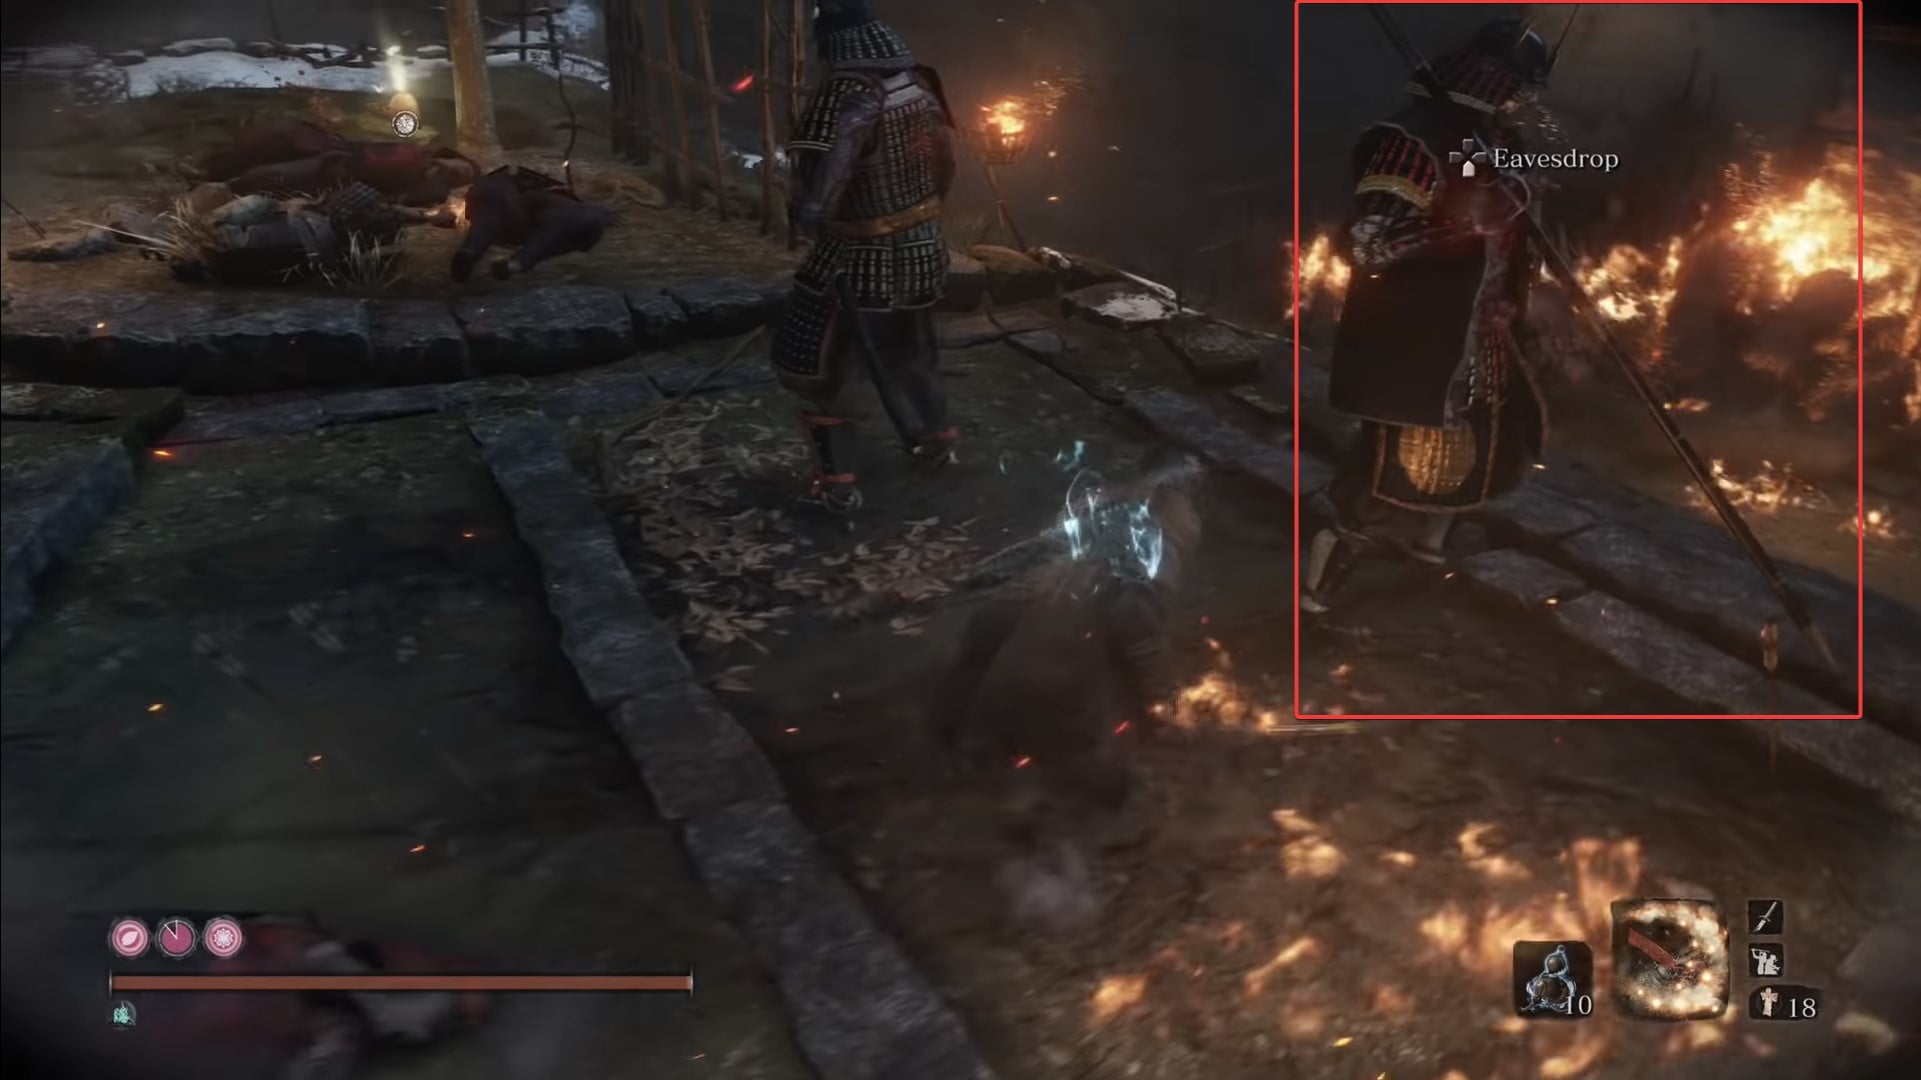
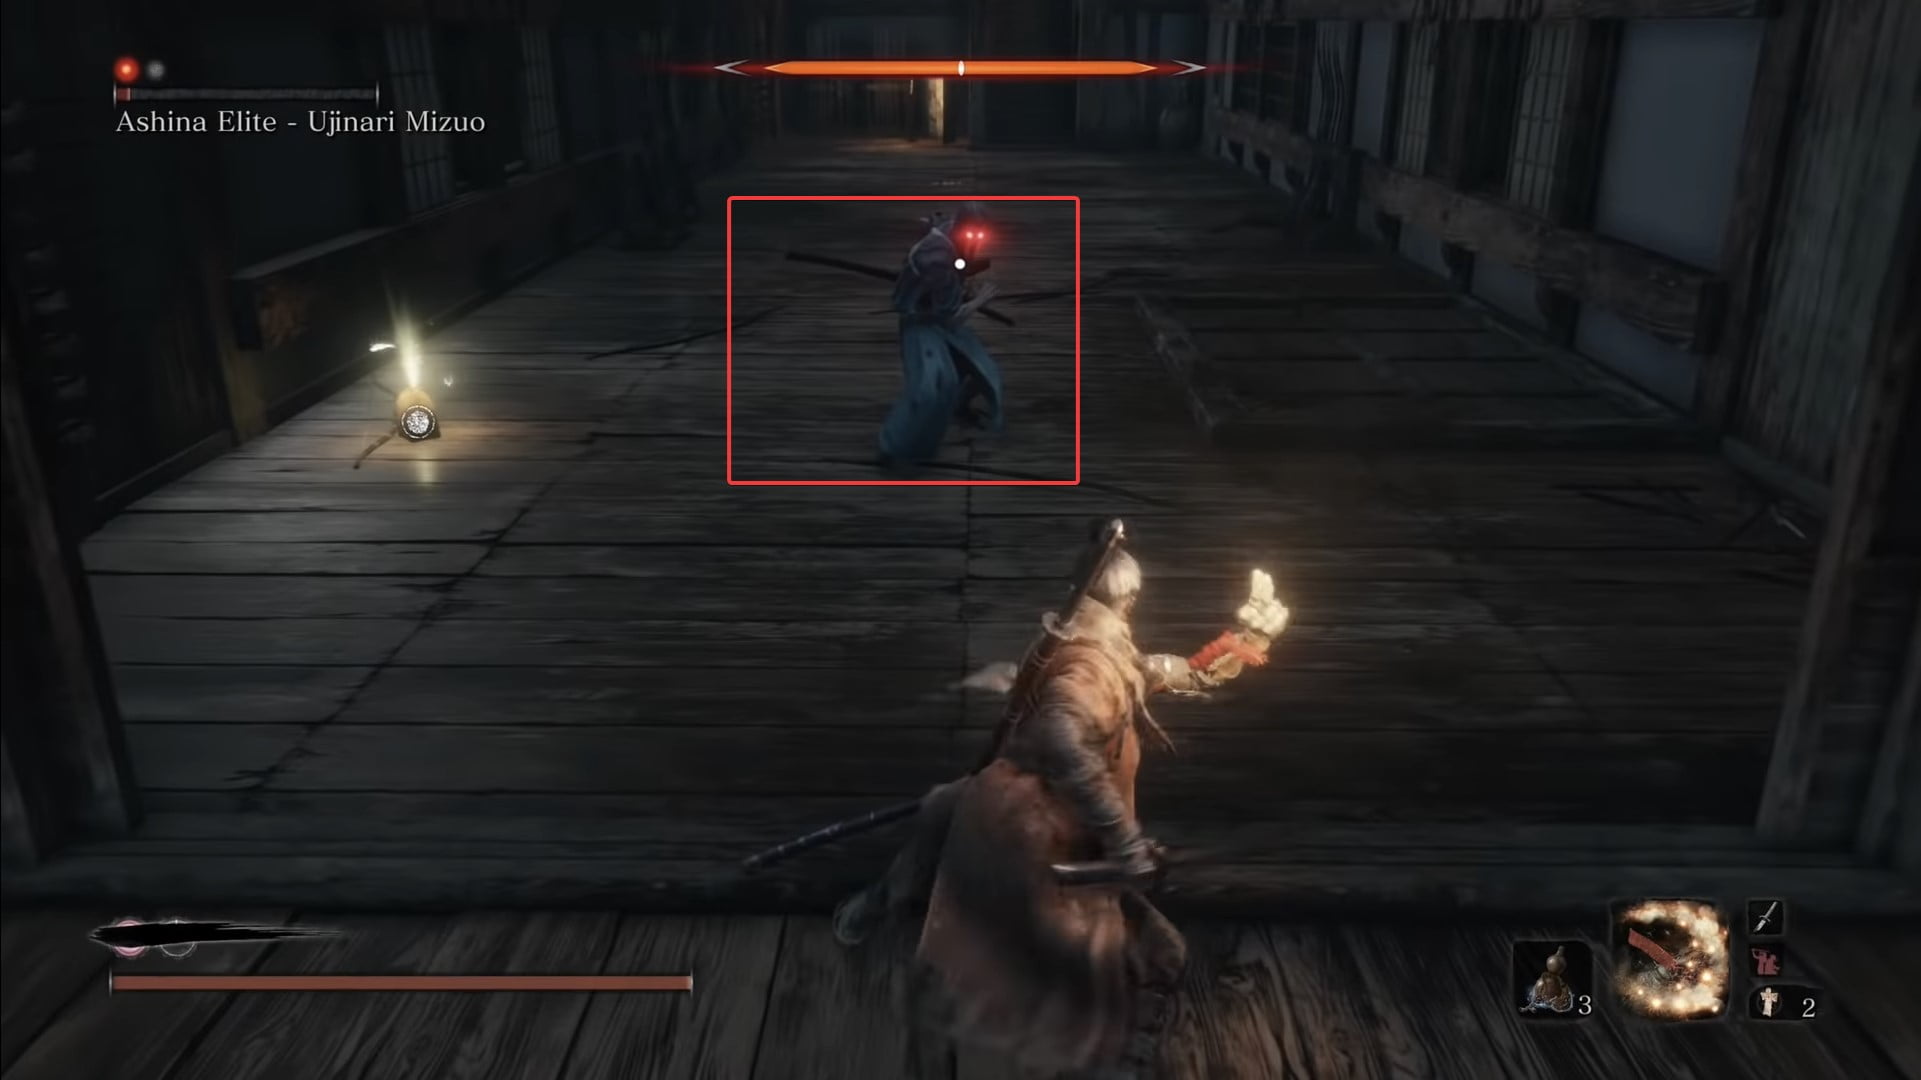
39. The next bead is dropped by “Ashina Elite – Ujinari Mizou” upon defeat. He can be found near the “Ashina Castle – Upper Tower – Ashina Dojo” idol in the hidden Dojo below Isshin Ashina’s room.
Ashina Outskirts
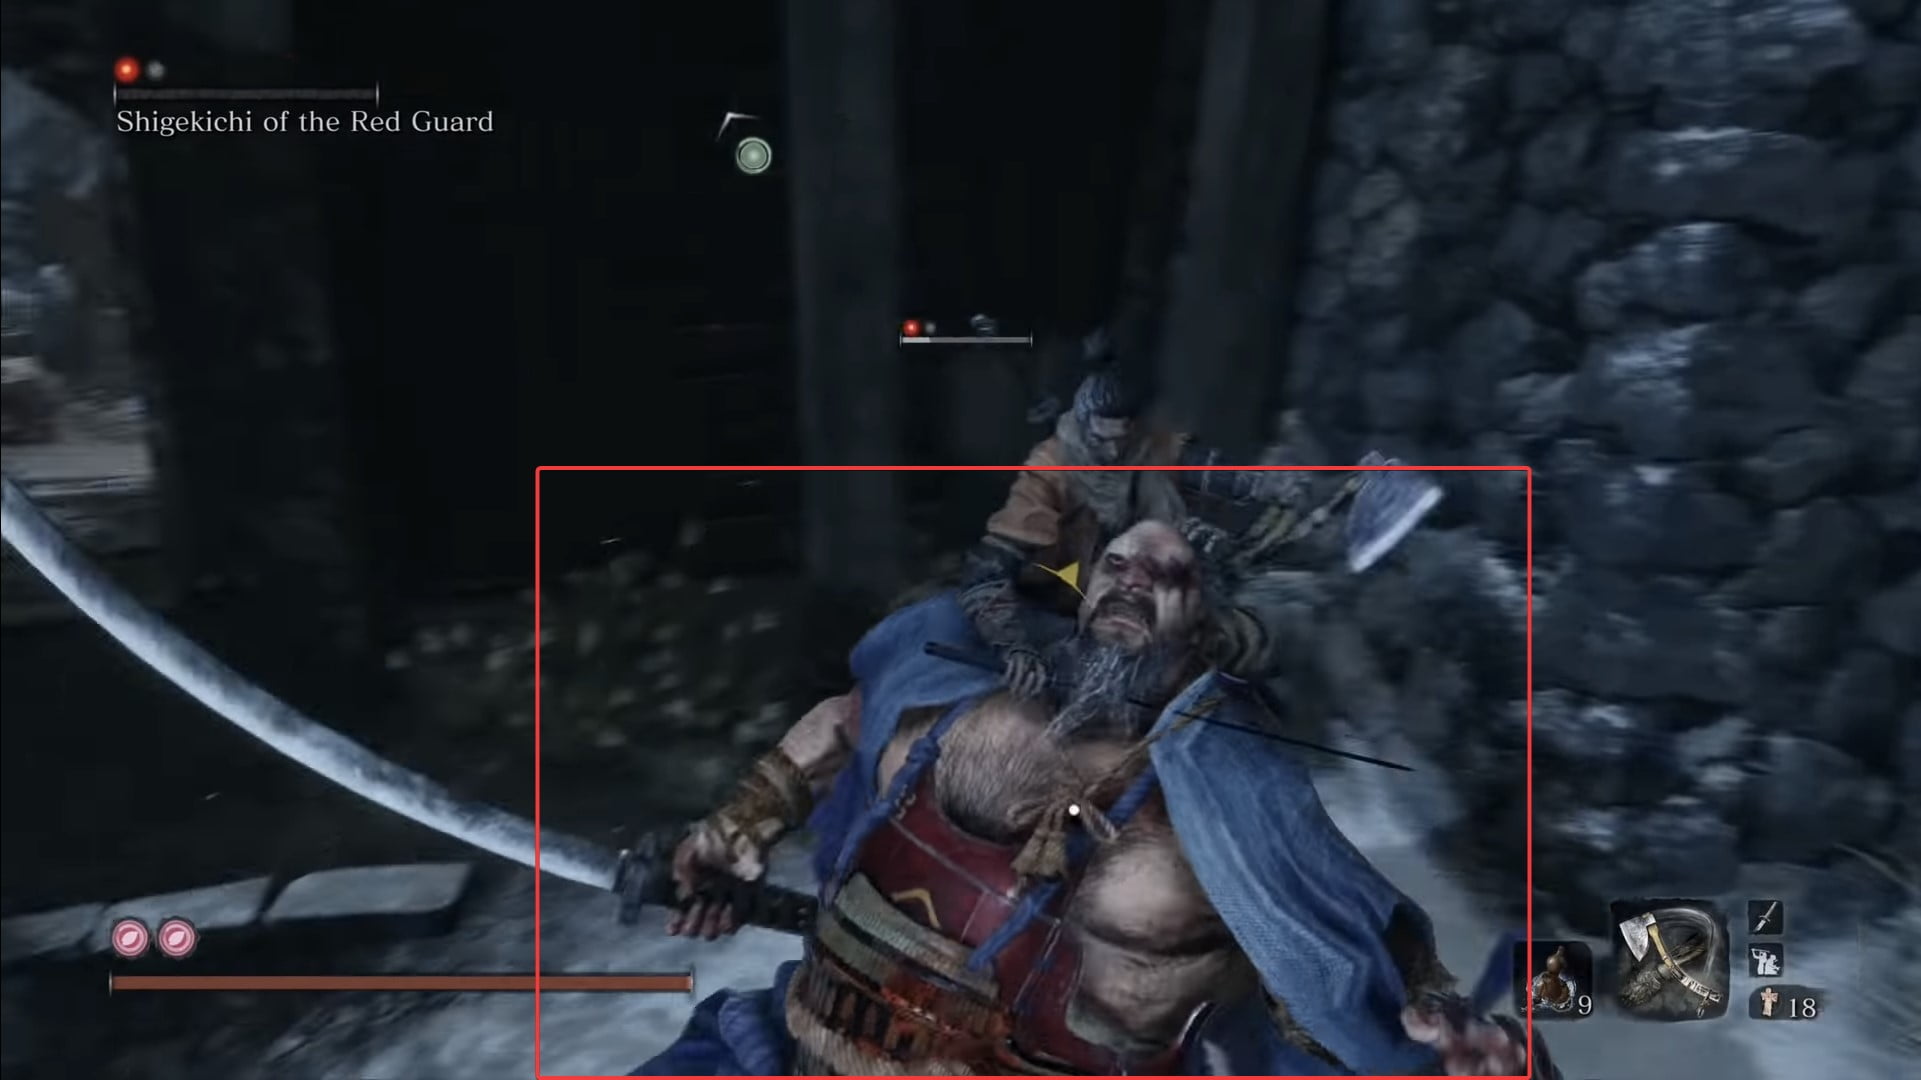
40. Let’s head to Ashina Outskirts again for the last prayer bead. You can claim it once you defeat Shigekichi of the Red Guard, who waits for you in a courtyard past the stairway gate
Conclusion
With this comprehensive guide to all the locations for prayer beads, you are now set to embark on your journey to maximize your vitality and posture.

