Baldur’s Gate 3 can be both thrilling and exciting, but it can also be confusing at times due to the various puzzles you encounter in the game. In this guide, we will teach you how to solve the thorm mausoleum puzzle in Baldur’s Gate 3.

Location of the Puzzle
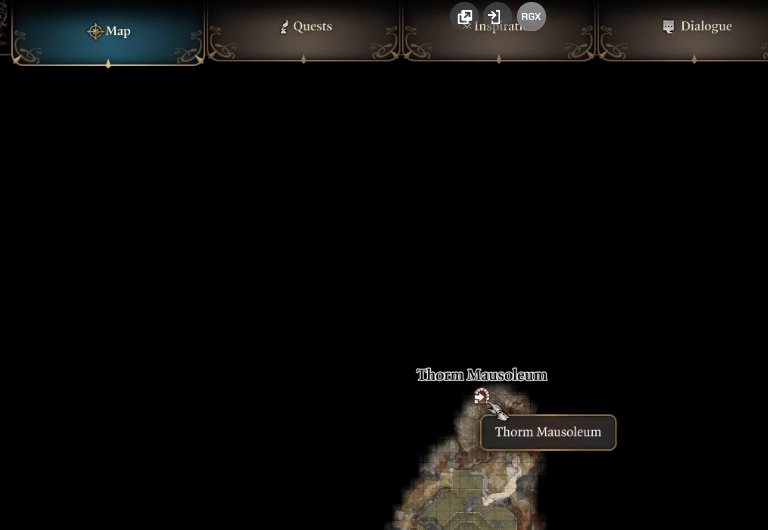
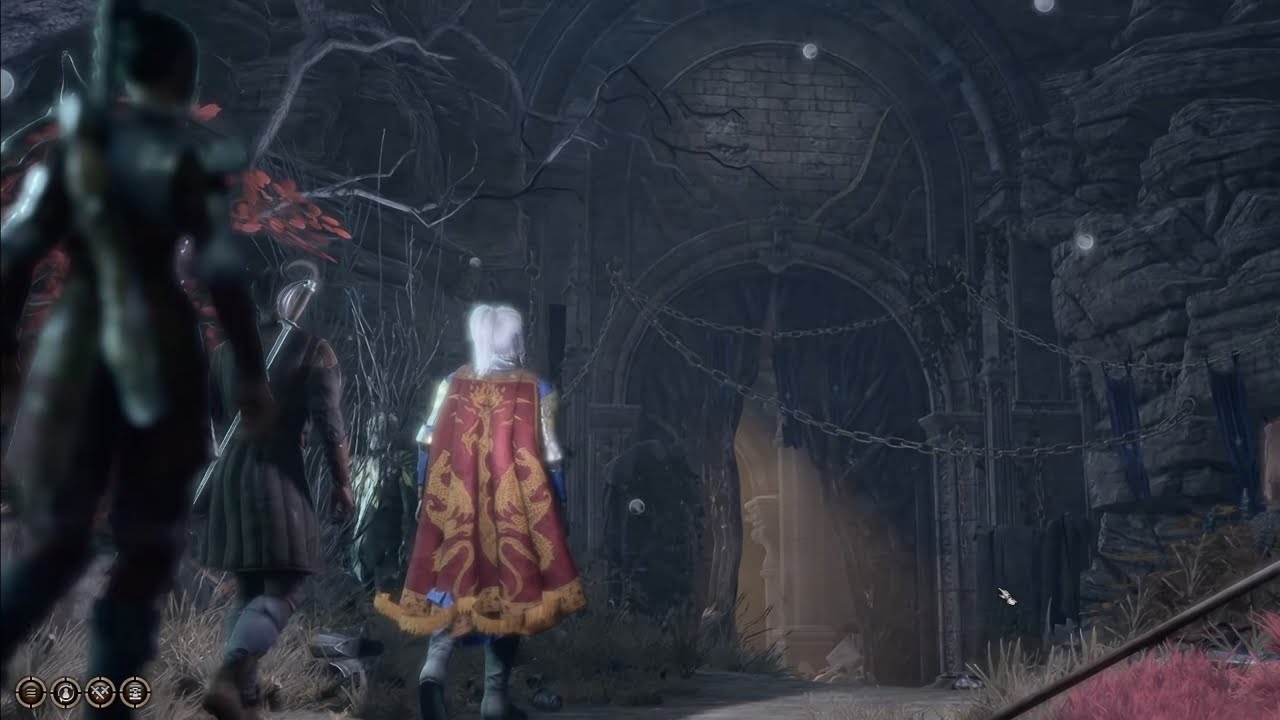
This puzzle is located inside of Thorm Mausoleum and it’s pretty simple actually however it’s not necessary for the main storyline so some players prefer to do this side quest while others do not.
Traps

About the traps, you and your party can either avoid them or attempt to disarm them if you don’t feel safe. The important part is to not get caught in these traps.
Solving the Puzzle
To solve the puzzle, you need to click on the buttons below the portraits in a specific sequence, or you’ll fail. The sequence is:
The first button you should press is from this portrait.

The second portrait that you should press the button from is on the left of the first portrait.

The last portrait to press the button is shown in the picture above, press this button and you can easily solve the puzzle.